


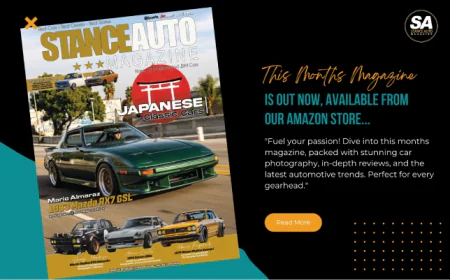


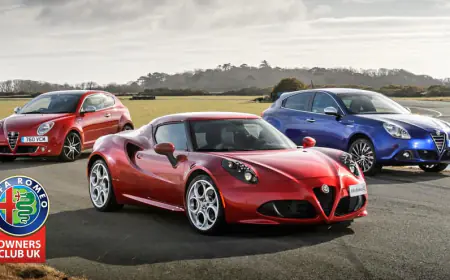
.png)


![[HOONIGAN] Ken Block's GYMKHANA NINE](https://img.youtube.com/vi/_bkX5VkZg8U/maxresdefault.jpg)


![[HOONIGAN] KEN BLOCK'S GYMKHANA SEVEN: WILD IN THE STREETS OF LOS ANGELES](https://cdn.motor1.com/images/mgl/2KlO4/s1/ken-block-london-tour-directors-cut.jpg)


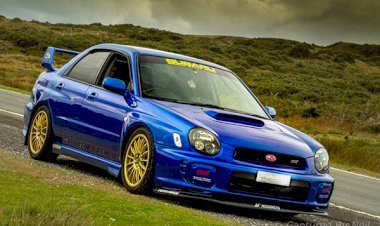
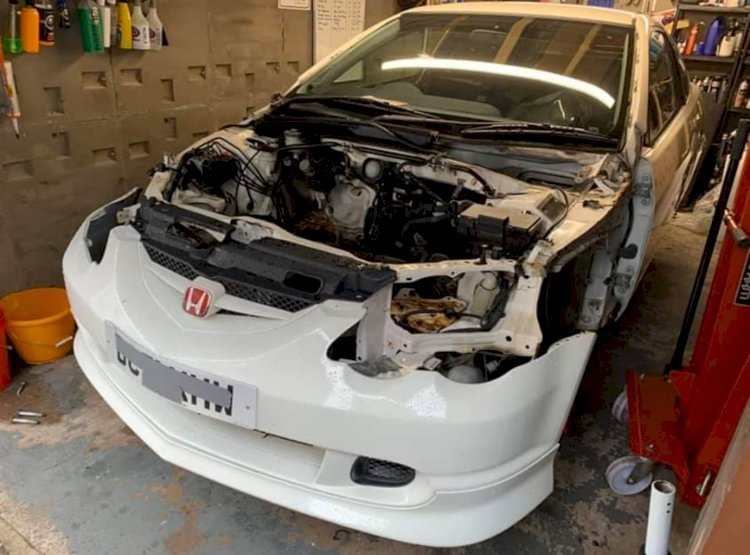
Tim Hardy - 2001 Honda Integra TypeR
I couldn't justify selling the EP3 as a whole car and putting the money out to purchase a dc5 and start again, with an unknown engine/box etc etc
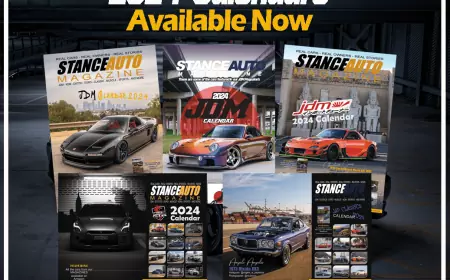
Join Stance Auto Mags Group Like our Facebook Page Follow us on Instagram
Check out our MERCH STORE
More images in the slider above
Tim Hardy
Here is my 2001 Honda Integra TypeR dc5
I've always wanted one, and having a few other Honda's with my main fun car being a premier EP3 stripped out inside with a cage, and bucket seats and a smoothed engine bay and various aspects removed/upgraded.
I couldn't justify selling the EP3 as a whole car and putting the money out to purchase a dc5 and start again, with an unknown engine/box etc etc.
So this got me thinking about a dc5 shell, as fate would have it a friend had a shell for sale with a few extra bits. But still a fair amount is missing. After some pondering I decided to take the plunge!
I purchased this October 31st 2019 - funnily enough I should have taken this as a warning but I just got my head down!

My plan was simple:
Nice clean looking dc5
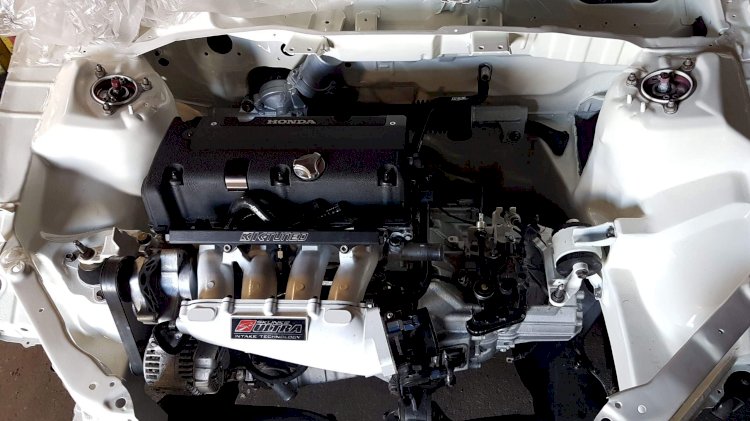
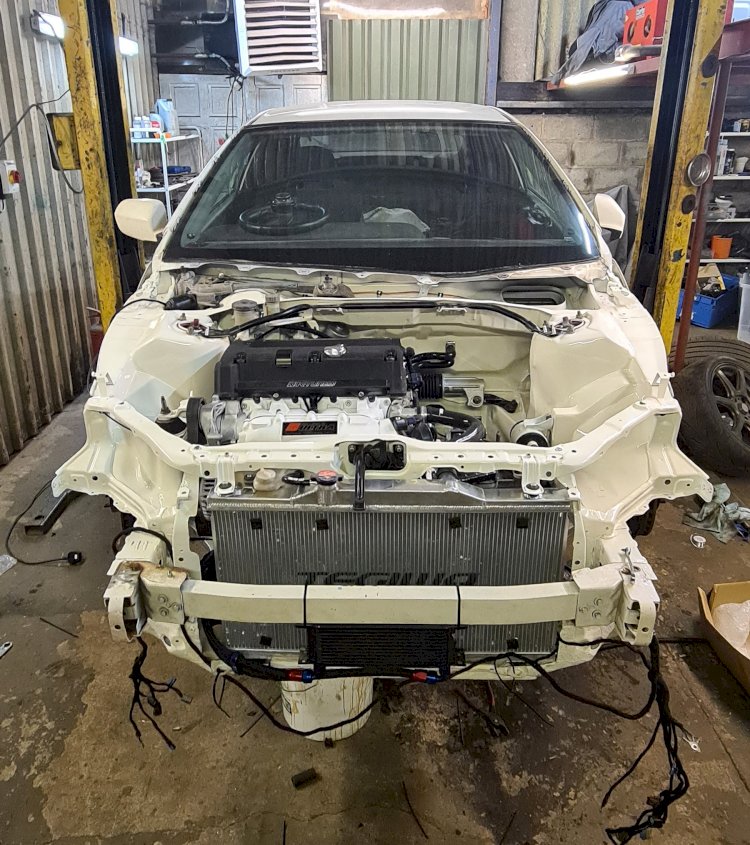
Smoothed and tucked engine bay - going further than my EP3
Completely restored (as if just rolled out from the factory)
Reliable
Something I could take to track days and hammer it, yet still go to a show and turn heads.
Form and function
First things first,
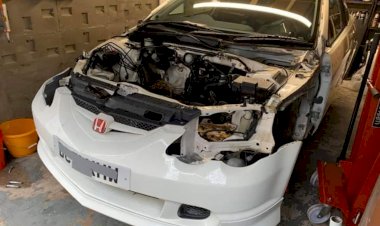
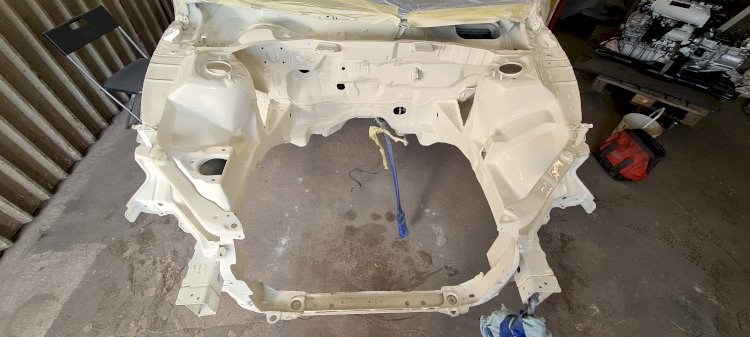
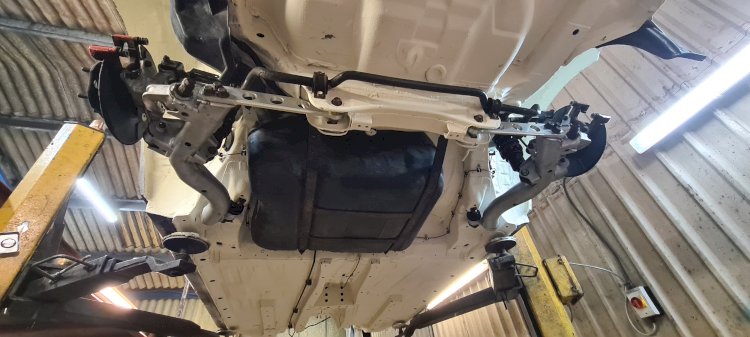
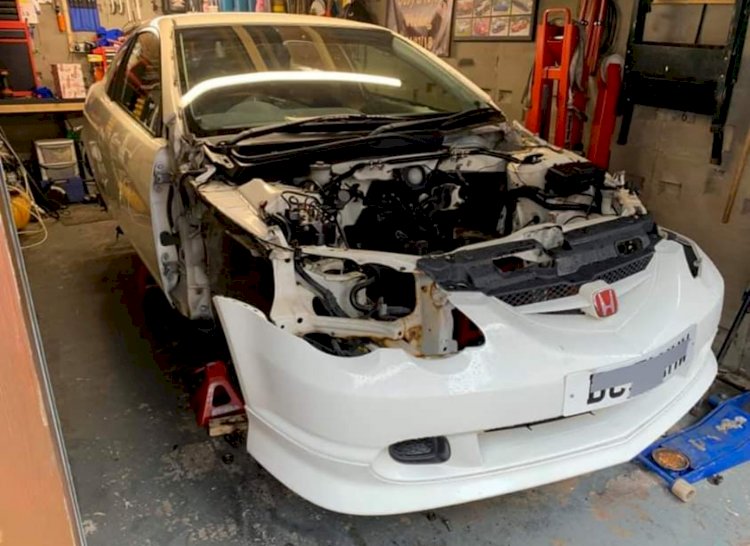
Full complete strip down of the car to see what I'm dealing with. Unfortunately found some areas that needed a lot of attention, standard dc5 faults- rust and bucket fulls at that!
floor sections both sides on the seams
Both inner rear arches
Front radiator support bar
Sections in the engine bay
At the time I was working in the garage at my old house and decided to start with the engine bay, knowing how much of a job it is to give myself a head start! ( Not to mention I didn't fancy fabricating and welding arches on my back)

Engine bay wise a before a after shot
Abs system, along with OEM lines removed and replaced with a custom brake set up using new lines, wildwood bias valve on custom mount and bulkhead fixings throughout to hide and tuck the lines as much as possible.
Fuse box relocated to under passenger airbag cover
Battery moved to the boot
All holes welded up, all seams welded, wheel arch infills fabricated and welded, engine mount location trimmed and infills made and welded. Gearbox mount seam welded and infill fabricated and welded.
Bulkhead
AC matrix removed and opening on bulkhead welded
Engine loom opening welded (loom now runs through OEM engine bay body loom opening)
Strut towers indented sections reshaped to smooth towers.
Next was time to set up the brake lines on the car, welding captive nuts onto the car to secure the lines easily and securely to the car. 1 Line splits to run to each front wheel, and the other goes through to the cabin, into a wilwood bias valve located next to the bonnet pull for easy access via a custom bracket. The line dodges the pedals and column and hugs the tunnel to the hand brake, out to the underside via a bulkhead fitting and splitting to go to each rear caliper.
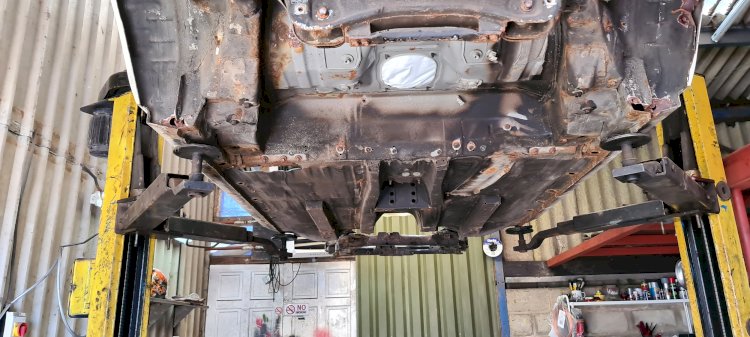
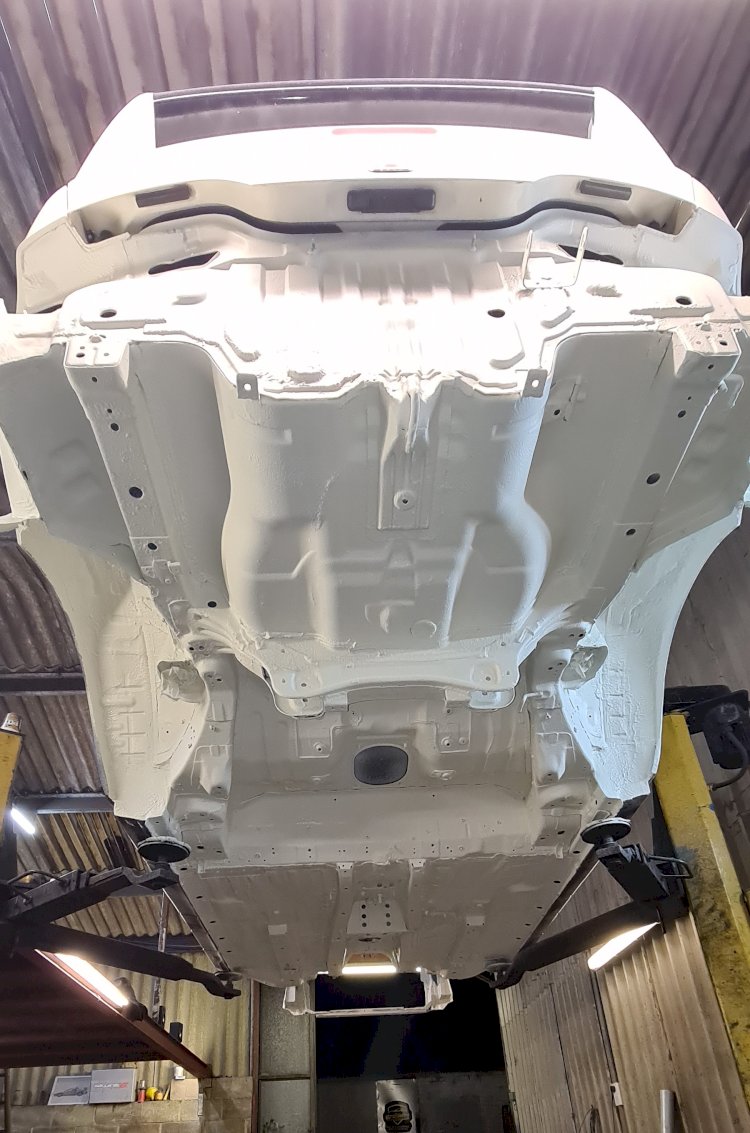
Next was to bare metal the underside of the car, chop out any rust, fabricate new sections and weld them in.
The rear arches luckily were only gone on the inners but this stretched all the way to the lower inner and outer sill section closing plates, this was all cut out, sills cleaned up inside and replaced.
The car was etched, primed, primered, painted and then finally coated in white gravitex.
All the suspension components where cleaned up and powder coated, and bushes removed and replaced with poly bushes
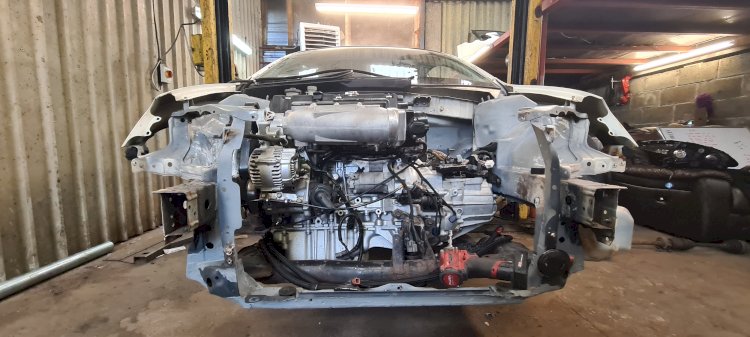
Meisterr coilovers installed all components reinstalled to make the shell rolling.
Onto wiring, the engine loom was stripped down and loom plugs depinned and reorganised as a lot of the OEM looms are tangled up and then pinned. The looms were adjusted to be run with minimal items on show before being rewrapped in fabric loom tape
The engine bay loom was also stripped and routed before being extended and rewrapped, the loom now runs through the chassis leg of the car before splitting to go to each front corner of the engine bay.
The hydraulic rack was ditched to be replaced with an electric rack to give a cleaner look. This was wired in using OEM components to make it work seamlessly.
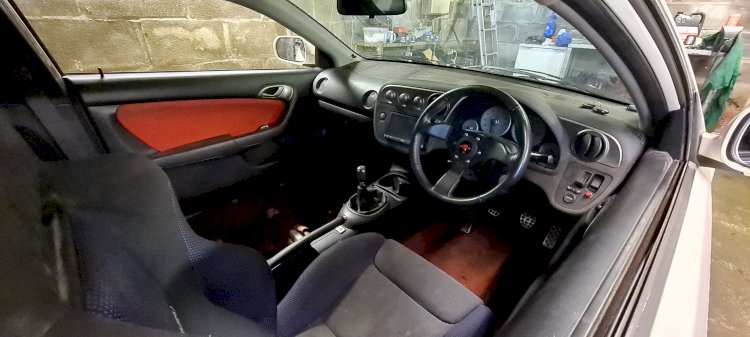
Interior was rebuilt and tested with the new additions all working perfectly.
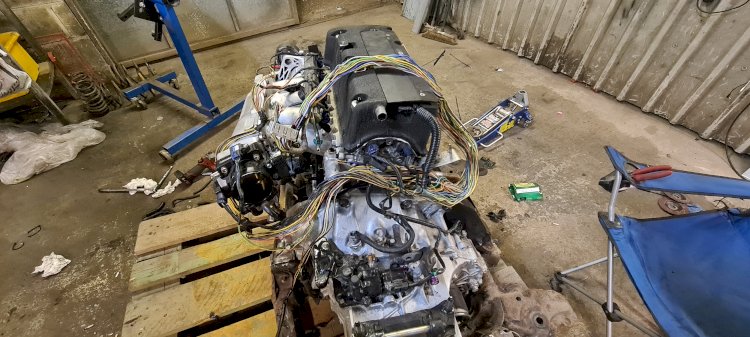
Engine bay was pulled apart before being painted and everything then was reinstalled and finished.
OEM oil cooler was removed, a shorter oil cooler supply stud was fitted to allow a mocal thermostatic sandwich plate to be fitted directly to the engine, coupled with a front mounted row cooler.
The coolant lines blanked using a k tuned kit.
K tuned center fed fuel rail and 6an custom lines fitted allowed us to jump in turn the key and fire for the first time! Sweet sound after a busy few months
Car specs
Engine -k20a2
Skunk2 ultra 70mm inlet manifold
Tegiwa 70mm throttle body
Clockwise motion baffled sump.
Mocal oil cooler including 90c thermostatic sandwich plate
Tegiwa alloy radiator and twin cooling fans
Aem eugo afr wideband
Kpro v4 ECU
Gearbox k20a2
M factory race pack limited slip differential.
Acuity shifter springs.
Delrin shifter bushes
Exhaust
Tegiwa exhaust manifold
Tegiwa 70mm cat back
Suspension
Meisterr zeta crd coilovers
Hardrace adjustable steering arms
Hardrace ball joints
Hardrace front and rear ARB poly bushes
Hardrace rear trailing arm lead bushings
Hardrace rear camber arms
Superpro front and rear arm bushes
Eibach rear LCAs
Interior
Personal neo grinta wheel in leather with red stitching mounted via NRG slim line boss and quick release
Recaro speed lines in black cloth and Alcantara
Pioneer head unit and JBL speakers
Skunk2 weighted gear knob
Wheels
Work t7r 17x7 et45
![]()

If you would like your Car and Story or Your Business Featured like this, Please
Email: Carla, Shannon, Andz or Admin, they would love to hear from you.
Our site contains links to third party websites. We are not responsible for the privacy policies, practices and/or content of these web sites. Their use is at your own risk.
 Like
0
Like
0
 Dislike
0
Dislike
0
 Love
0
Love
0
 Funny
0
Funny
0
 Angry
0
Angry
0
 Sad
0
Sad
0
 Wow
0
Wow
0