


.png)


![[HOONIGAN] Ken Block's GYMKHANA NINE](https://img.youtube.com/vi/_bkX5VkZg8U/maxresdefault.jpg)


![[HOONIGAN] KEN BLOCK'S GYMKHANA SEVEN: WILD IN THE STREETS OF LOS ANGELES](https://cdn.motor1.com/images/mgl/2KlO4/s1/ken-block-london-tour-directors-cut.jpg)


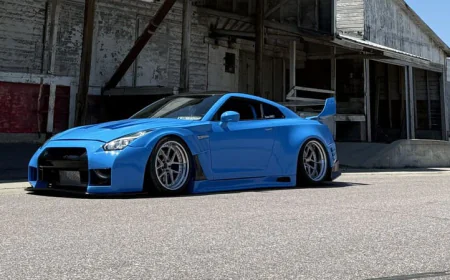
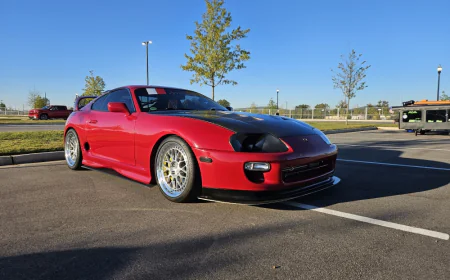
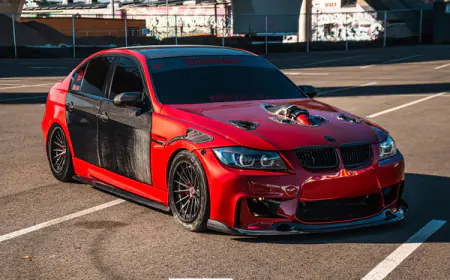
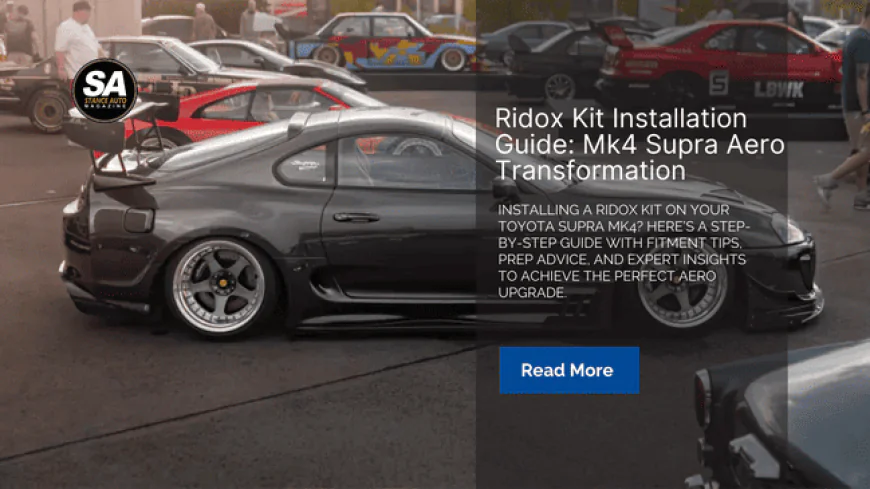
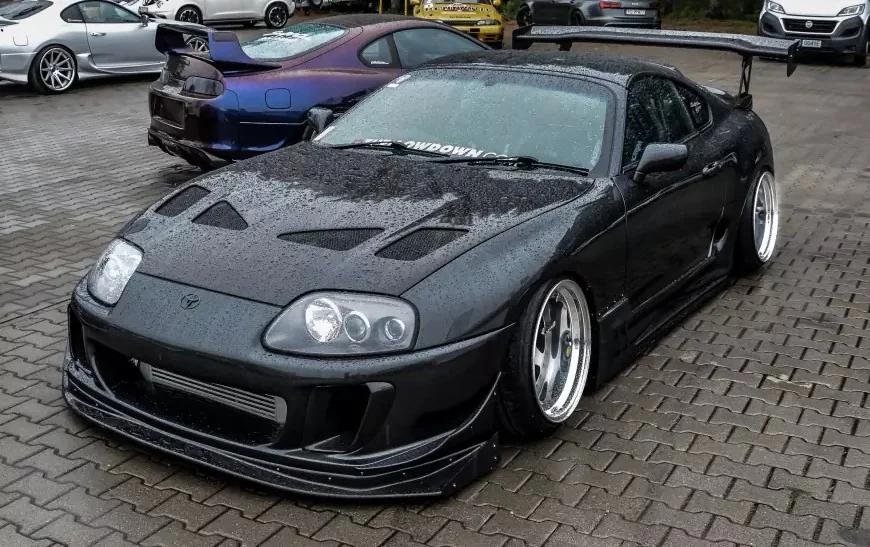
Ridox Kit Installation Guide: Mk4 Supra Aero Transformation
Installing a Ridox kit on your Toyota Supra Mk4? Here’s a step-by-step guide with fitment tips, prep advice, and expert insights to achieve the perfect aero upgrade.
Thinking of Going Ridox? Here’s What You Need to Know First
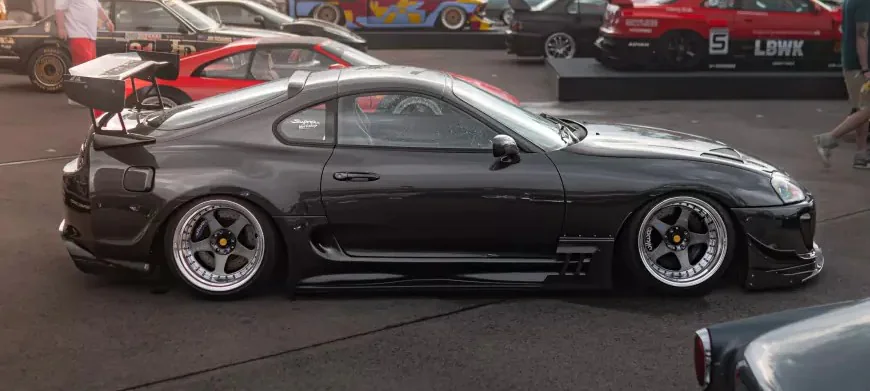
So, you’ve made the decision: the Ridox widebody kit is going on your Supra Mk4. Excellent choice. But before you unbox those beautiful carbon fibre panels and start dreaming of touge runs, let’s get real for a second—this isn’t your average bolt-on job.
Ridox, developed by Varis North America, is one of the most respected kits in the game, but that prestige comes with expectations. It’s built for builders—enthusiasts who understand that form follows function and fitment takes finesse.
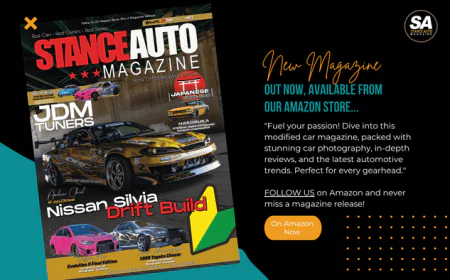
This guide walks you through the install process with clarity and realism, so you know exactly what you’re getting into—and how to do it right. For more inspiration, the Modified Car Magazine: The JDM Issue features builds that go through this exact transformation process.
Step 1: Inventory and Inspection
Before touching a single bolt, do a full inventory check of every part that arrived. Take your invoice and go line-by-line, confirming each component. Ridox kits are handcrafted, made-to-order aero parts, often shipped raw and unfinished in FRP or carbon fibre, so damage in transit, while rare, is still a possibility.
Lay everything out in a clean space: the front bumper, wide front and rear fenders, side skirts, diffuser panels, and any optional add-ons like a roof spoiler or canards. Inspect each panel for cracks, imperfections, or warped edges. Catching these early could save you hours—and hundreds—during prep.
Some panels may arrive with uneven gel coats or surface residue. That’s normal. Don’t panic. What you’re looking for is structural integrity and completeness, not showroom finish. That part comes later.
Step 2: Dry Fitting (Don’t Skip This!)
You’ll be tempted to dive in, but trust us—dry fitting is mandatory. This is where you hold each panel in place, checking for fitment, visual flow, and contact points. It’s also the stage where you start understanding the personality of your particular kit—each one varies ever so slightly.
Hold the bumper and fenders in place and observe the natural lines of the kit against your Supra’s chassis. Are the arches even? Does the side skirt align flush to the rocker panel? You’ll likely spot a few imperfections—small gaps, overhangs, or mounting tabs needing realignment.
Use masking tape or clamps to hold panels temporarily. Take photos from multiple angles. This is your chance to adjust before any irreversible steps. Dry fitting also gives your painter or fabricator time to visualise the build and anticipate trouble spots.
Expect to spend several hours on this phase, especially if you’re doing it solo. Builders who skip it almost always regret it later.
For more real-world references on professional fitment techniques, pick up Stance Auto Magazine: July 2025, where expert-level installs are broken down in similar detail.

Step 3: Panel Prep and Modification
This is where the work gets serious. Each panel now needs to be adjusted and prepared for permanent mounting. Start by lightly sanding the edges and contact points of the panels to remove sharp FRP residue and give adhesives or fasteners a clean surface to bond to.
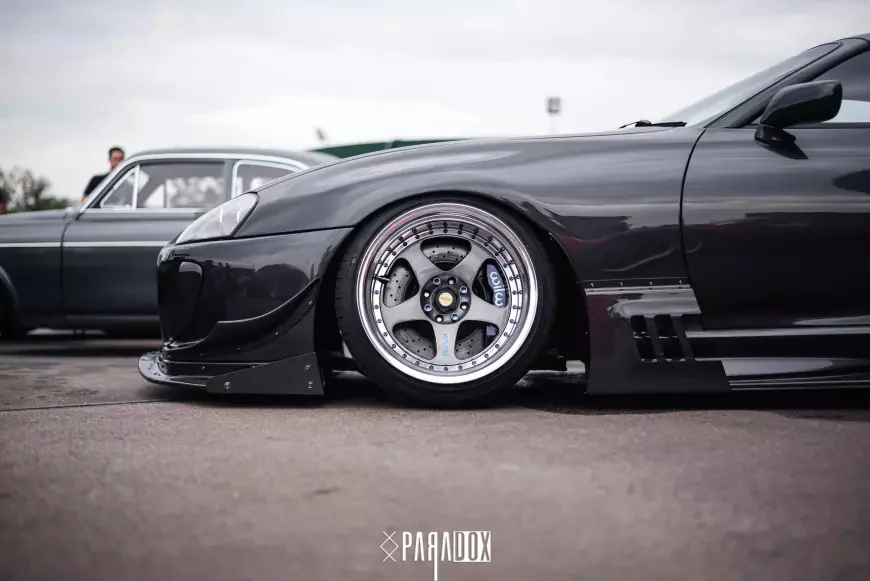
Wide fenders will likely need trimming along the inner lips to prevent rubbing against your tyres or liner. Mounting holes will need to be carefully drilled—do not rush this. Align each hole using your dry-fit marks. Misaligned holes mean stress on the panel and future cracks.
Some fitment issues may require subtle heat-forming. A heat gun and patience are your best friends. Don’t force panels into position—coax them gradually. For final mounting, many professionals use rivet nuts (rivnuts) combined with urethane bonding agents to ensure clean, hidden, and vibration-resistant installs.
You might also choose to apply skim filler to panel joints or gaps to achieve that seamless OEM+ look. This is where great builds start separating themselves from average ones.
Step 4: Bodywork, Alignment & Gaps
Now the real artistry begins. Your panels are trimmed and shaped—it’s time to fine-tune fitment and alignment. Use measuring tools and body lines to ensure everything is balanced. On a Supra Mk4, the transitions between the door and front fender, or the rear quarter and bumper, are visually critical.
This step is tedious and repetitive. You may find yourself removing and reinstalling the same part five or six times. But every tweak gets you closer to that perfect panel gap. Builders aiming for a show-quality finish will often block sand and re-skim filler until the fitment is flawless.
Mock up your aero add-ons at this point, such as the Ridox front diffuser or carbon canards. You’ll want to know how everything sits together before paint. These accessories also affect airflow, so placement can impact performance if you’re building for the track.
Take your time—this phase will make or break the final look.
Step 5: Paint & Finish
Everything is fitted, aligned, and mocked up. Time for the visual reward. But painting FRP and carbon is different than working with metal. Make sure your painter understands how to prep and prime composite surfaces properly.
Start with a full degrease and scuff of every surface. FRP tends to absorb primer unevenly, so high-build primer is typically recommended. Carbon fibre parts should be sanded lightly and cleaned thoroughly to maintain clarity under clearcoat.
Decide now whether to colour match or contrast. Many owners leave lower lips, diffusers, or vented areas in exposed carbon, while painting the rest of the kit body colour. Others go full contrast for track aggression—think black skirts on a red body.
Whichever route you go, don’t cut corners. This is the most visible phase of the install and will define how your Supra is remembered.
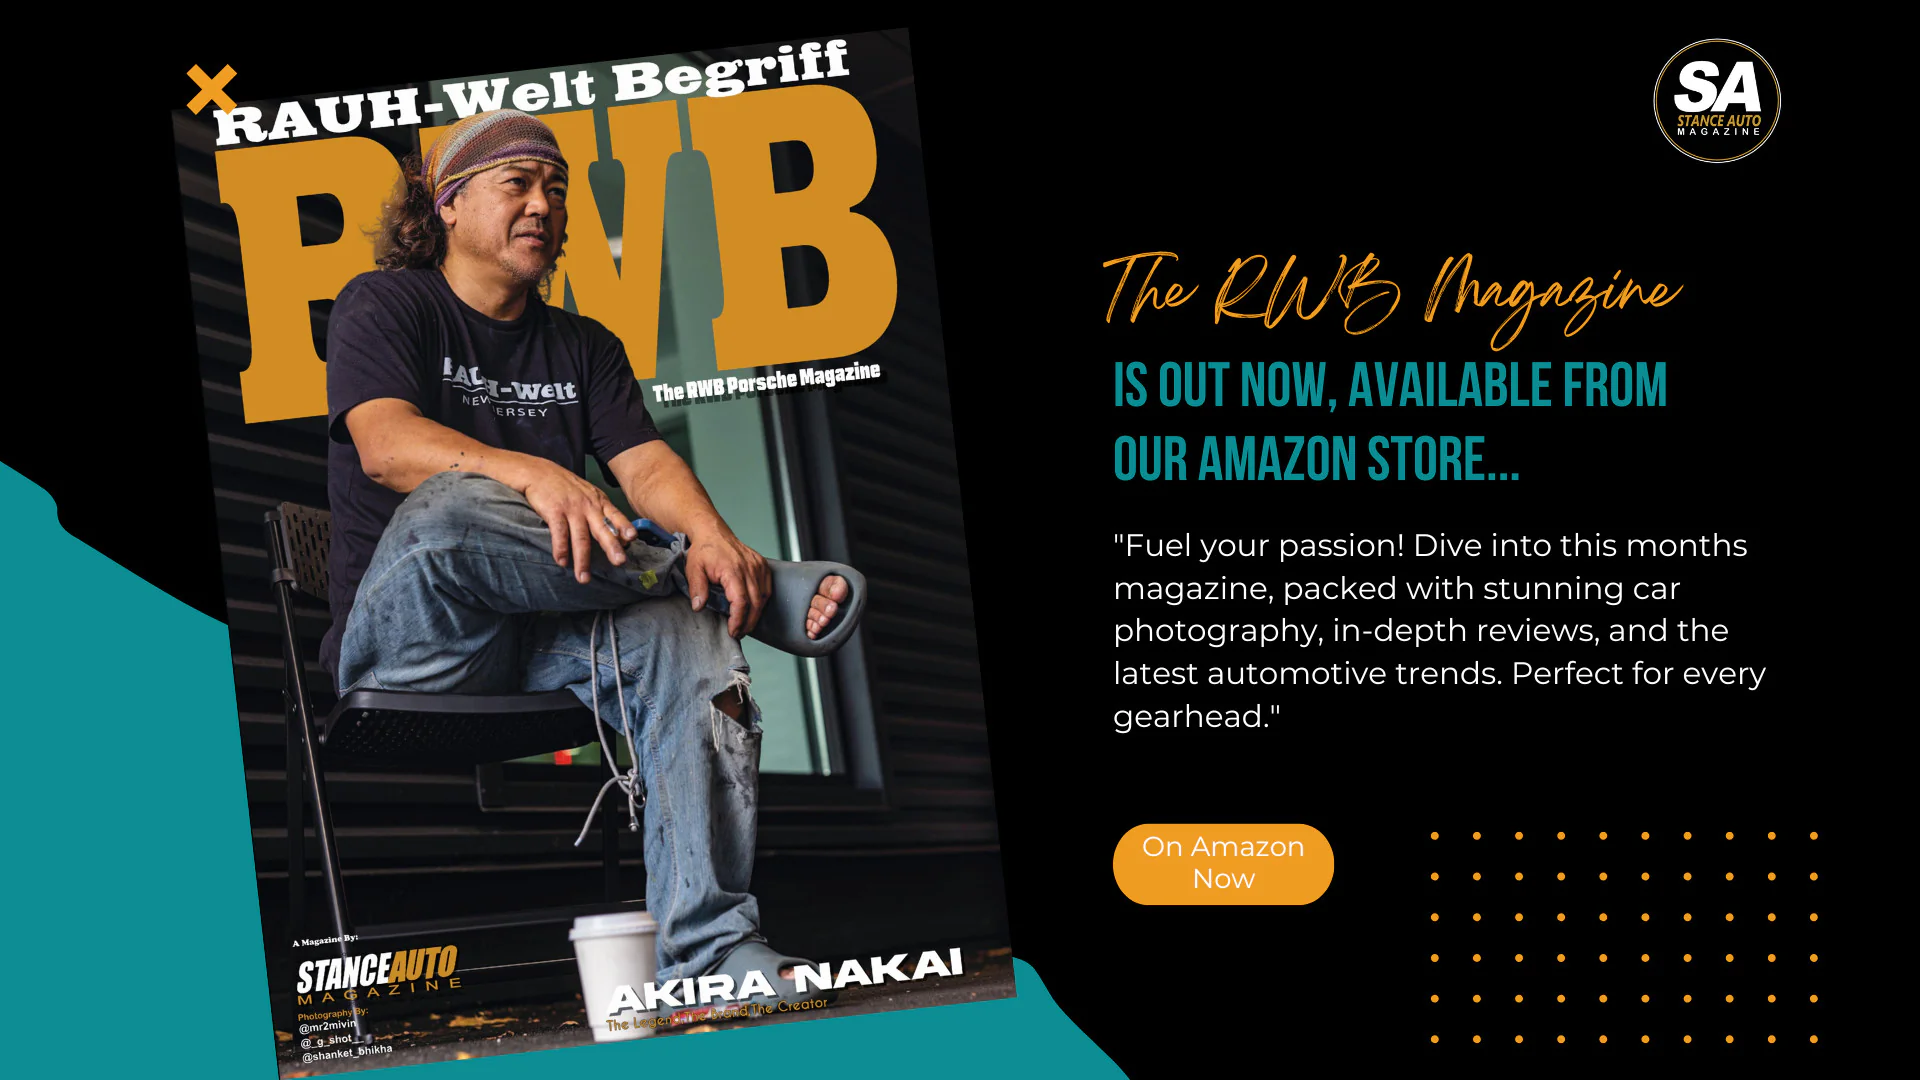
For paint finish inspiration and rare build examples, check out Stance Auto Magazine: 90's JDM Classics Edition for beautifully restored aero setups that blend old-school style with modern technique.
Step 6: Final Mounting and Torque Check
With paint cured and looking fresh, it’s time for final assembly. Reinstall each component carefully, using torque-appropriate fasteners. If you’ve used rivnuts, be sure they’re set cleanly and haven’t spun during torque application.
Inspect every edge and panel gap during install—paint thickness can throw off your clearances by a few millimetres. This is also when you should check for rubbing, especially if you’re running wider tyres or low-offset wheels.
If you’re fitting widebody-friendly coilovers or dialing in aggressive camber, now’s the time to finalise your alignment setup. Many Ridox builds sit aggressively, but you still want drivability.
Walk around your car with fresh eyes. What you see now is the result of hours of precision work. Admire it—but also double-check it.
Common Challenges with Ridox Installs
Let’s be honest—no kit is perfect. Even a kit as premium as Ridox brings its own quirks:
-
Carbon panels can be extremely rigid, making small adjustments difficult without risking surface damage.
-
Rear quarter panel fitment is often the most complex due to the Supra’s curved body—cutting may be required for extreme stance builds.
-
Wheel poke or contact is common if you don’t run the right offset or adjust camber accordingly.
But here’s the good news: this isn’t unknown territory. Plenty of builders have tackled Ridox kits successfully, and forums, guides, and tuning shops are full of hard-earned knowledge. Just don’t rush it.
Further Learning and Real-World Examples
Want more inspiration or detailed walkthroughs from experienced builders? Dive into builds like the one featured in the Toyota Supra Mk4 Buying & Tuning Guide, which offers insight into how to spec your car for aero installs.
Or explore deeper insights in:
Looking for more magazine-level content? You’ll love the print-worthy visuals and detailed articles found in the Stance Auto Magazine: Japanese Classic Cars Vol2, where craftsmanship like this takes centre stage.
Call to Action
Do you have a build story like this one? Got a build on a budget? We want to see it. Submit your story to Stance Auto Magazine, and you could be the next featured owner showing the world how to do it right—without breaking the bank.
 Like
0
Like
0
 Dislike
0
Dislike
0
 Love
0
Love
0
 Funny
0
Funny
0
 Angry
0
Angry
0
 Sad
0
Sad
0
 Wow
0
Wow
0