


.png)


![[HOONIGAN] Ken Block's GYMKHANA NINE](https://img.youtube.com/vi/_bkX5VkZg8U/maxresdefault.jpg)


![[HOONIGAN] KEN BLOCK'S GYMKHANA SEVEN: WILD IN THE STREETS OF LOS ANGELES](https://cdn.motor1.com/images/mgl/2KlO4/s1/ken-block-london-tour-directors-cut.jpg)


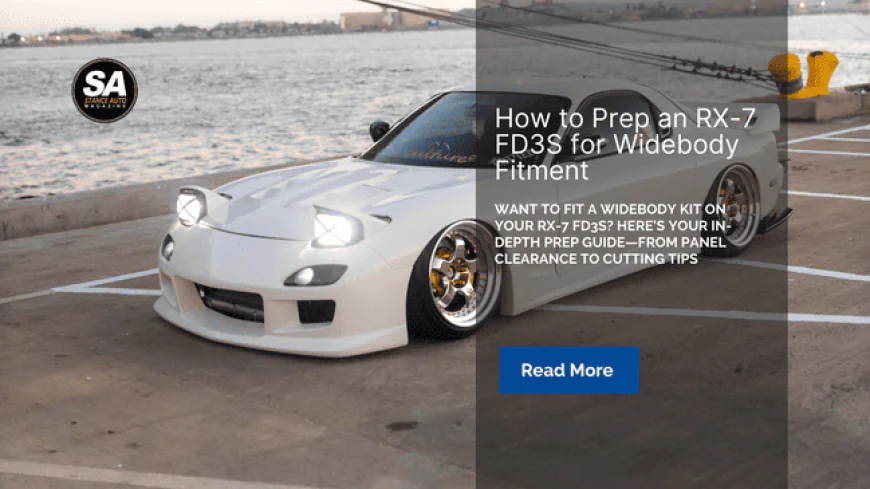
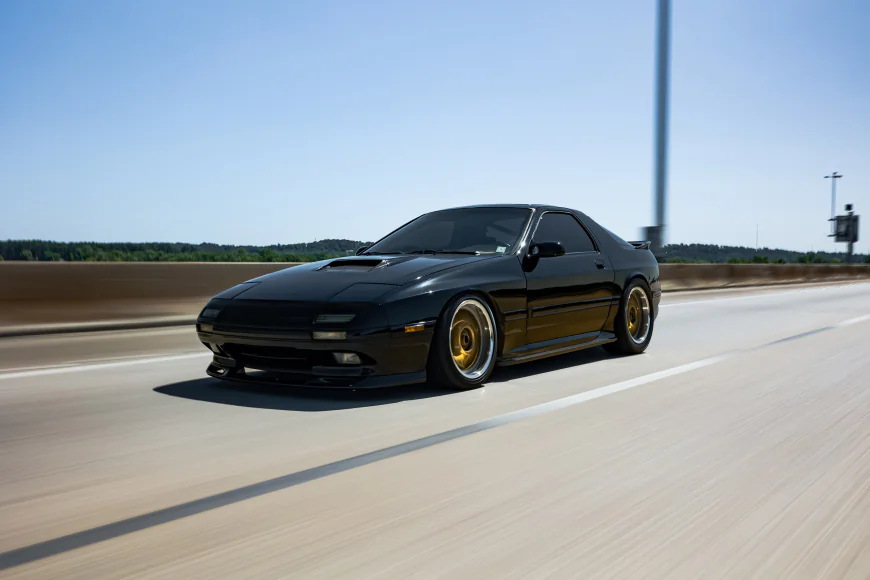
How to Prep an RX-7 FD3S for Widebody Fitment
Want to fit a widebody kit on your RX-7 FD3S? Here’s your in-depth prep guide—from panel clearance to cutting tips—to help you build the perfect rotary beast.
Why Prep Matters More on a Rotary Chassis
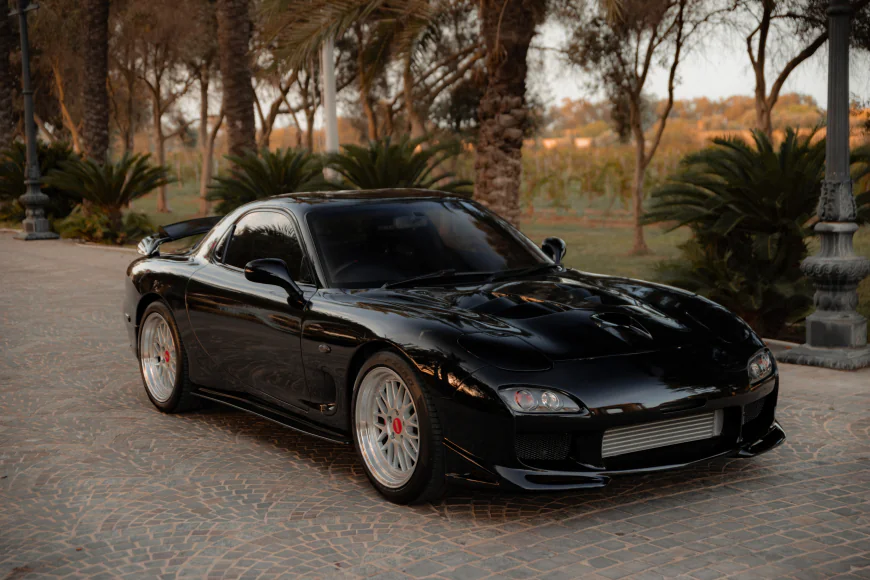
The RX-7 FD3S isn’t just another coupe—it’s a featherweight, rotary-powered icon with sleek factory proportions. That low, curved body makes it a perfect canvas for widebody kits, but it also means tolerances are tight and panel surfaces are flowing, not flat. Slapping on overfenders or full aero without prep? Recipe for disappointment.
That’s why this guide exists. If you’ve read our RE-Amemiya Kit for RX-7 FD3S deep dive, you already know that building an RX-7 with widebody styling is a serious undertaking. It starts well before paint and ends with how those panels hug the car under load.
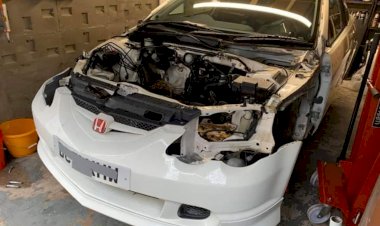
Step 1: Stripping the Car Down
First, you need to give your FD a clean slate. That means removing side skirts, bumpers, fender liners, and sometimes even factory seals or trim pieces that interfere with widebody panel placement. Don’t be afraid to go further if needed—fuel doors, side repeaters, even mirrors might come off depending on your kit.
This teardown gives you full access to mock up the new panels and assess what might need trimming, sanding, or spacing. It also allows you to check for hidden rust or seam sealer that could affect adhesion or panel bonding.
Step 2: Dry-Fitting Panels (No Shortcuts Here)
Every widebody kit for the RX-7, from RE-Amemiya to custom moulds, needs dry-fitting. And we mean full bolt-up, not just holding it in place with painter’s tape. During this stage, mark alignment points, test panel overlap, and evaluate where rivets, bolts, or adhesives will be used.
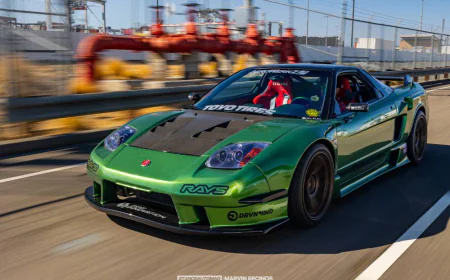
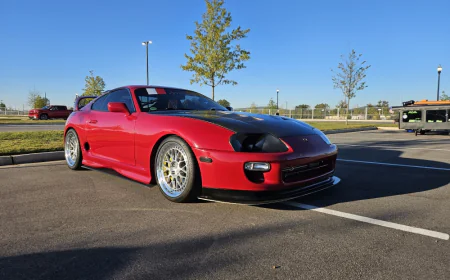
Don’t worry if it looks rough—dry-fitting is about fit, not finish. For more context, check out how we handled prep in the Ridox Kit Install Guide for the Supra Mk4. Different car, but the principles carry over.
Step 3: Wheel Fitment, Suspension and Offset Planning
Once panels are mocked up, you’ll quickly see how crucial wheel offset and suspension clearance are. Most widebody kits are designed to accommodate aggressive setups—think -5° camber and +30mm offsets.
Before you commit to cutting, test your wheel/tire combo with the panels on. Jack the car, turn lock to lock, compress the suspension. Only then will you know what needs cutting or flaring.
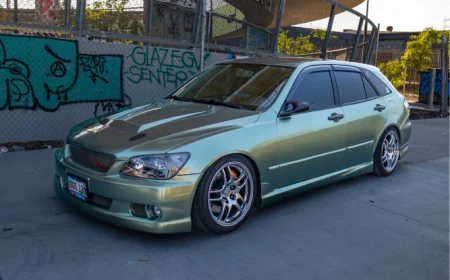
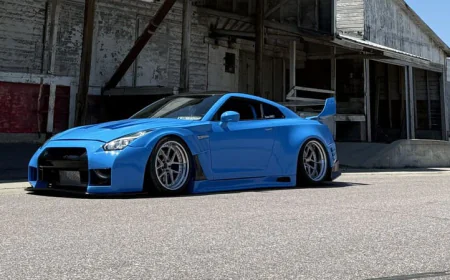
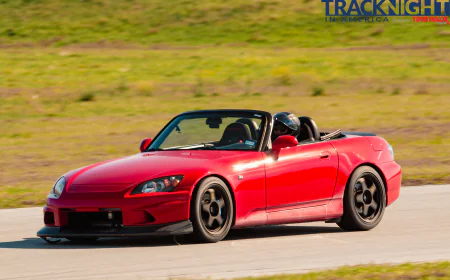
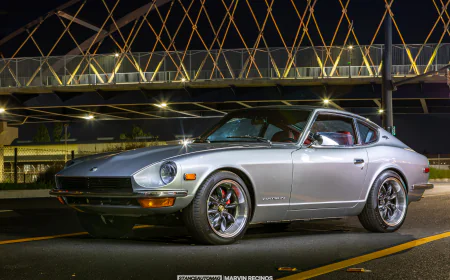
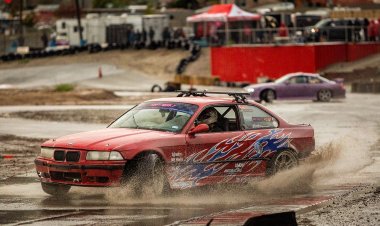
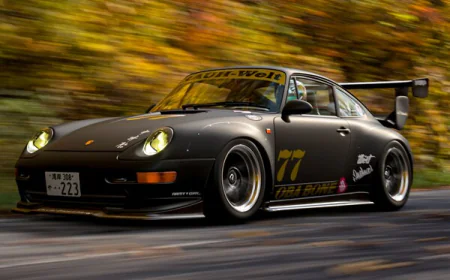
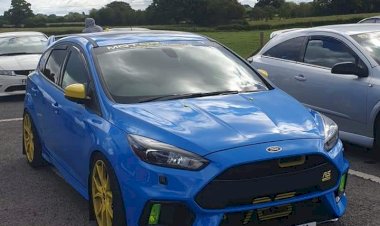
This is where many of the best rotary builds shine—see how it’s done in real life by checking out Christopher Calden’s 1993 Mazda RX-7 or Andrew Ilbegi’s RX-7 R1.
Step 4: Cutting Inner Arches and Sealing
If you’re going full widebody, you’re going to have to cut. This can be intimidating, but it’s necessary for clearance and to prevent rubbing or tyre blowout on aggressive setups.
Cut the inner arches conservatively, and always seal them afterward to prevent corrosion. Weld or bond any exposed seams, then reseal with underbody rubberised coating or proper seam sealer. This is non-negotiable—rotary chassis rot fast if you leave bare metal exposed.
Pro tip: overlay the kit during this stage again, and confirm with tape lines where each cut needs to go. Patience pays here.
Step 5: Final Panel Prep and Surface Work
Before you send the car for paint, finalise your panel prep. This means block-sanding all widebody components, especially FRP parts. Fill low spots with body filler if needed, and sand seams to ensure the cleanest fit against the OEM body.
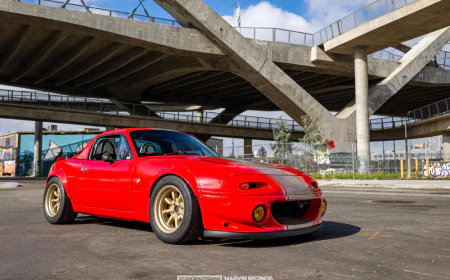
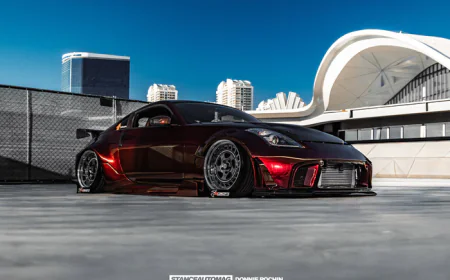
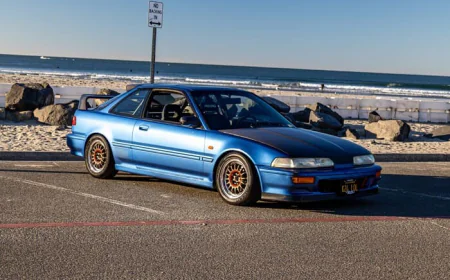
Want to see the result of great prep work? Take a look at Chris Johnston’s RX-7 or Jay Milla’s Type R Bathurst—both showcase what attention to fitment can achieve.
For best results, use guide coats, primer surfacers, and don't skip multiple test-mounts. It’s better to find flaws now than after the car is in colour.
Final Thoughts: Craftsmanship Is the Difference
Prepping a widebody RX-7 isn’t about rushing to the finish. It’s about elevating the car’s original lines while accommodating function and flair. Done properly, it’s a thing of beauty. Done poorly, it’s a nightmare of cracked filler and uneven gaps.
Whether you're going RE-Amemiya or something more bespoke, this process separates show winners from weekend warriors. Give your FD the respect it deserves.
Call to Action
Do you have a build story like this one? Got a build on a budget? We want to see it. Submit your story to Stance Auto Magazine, and you could be the next featured owner showing the world how to do it right—without breaking the bank.
 Like
1
Like
1
 Dislike
0
Dislike
0
 Love
0
Love
0
 Funny
0
Funny
0
 Angry
0
Angry
0
 Sad
0
Sad
0
 Wow
0
Wow
0