


.png)


![[HOONIGAN] Ken Block's GYMKHANA NINE](https://img.youtube.com/vi/_bkX5VkZg8U/maxresdefault.jpg)


![[HOONIGAN] KEN BLOCK'S GYMKHANA SEVEN: WILD IN THE STREETS OF LOS ANGELES](https://cdn.motor1.com/images/mgl/2KlO4/s1/ken-block-london-tour-directors-cut.jpg)


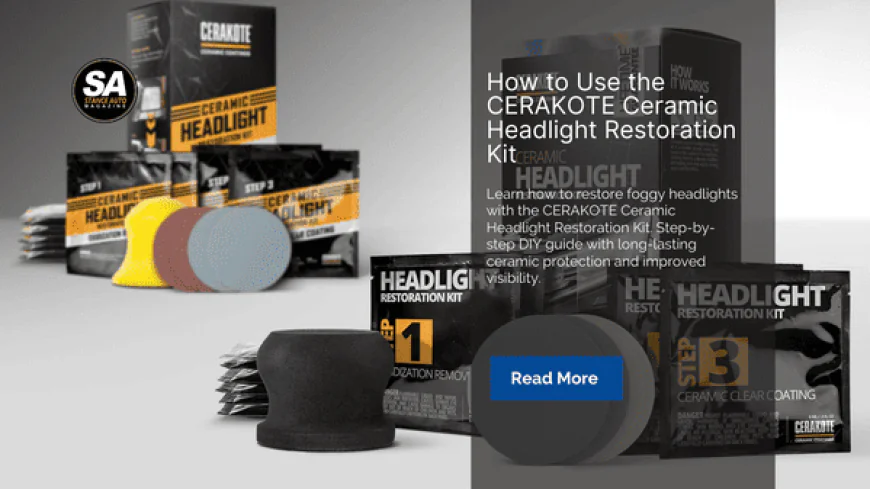
How to Use the CERAKOTE Ceramic Headlight Restoration Kit
Learn how to restore foggy headlights with the CERAKOTE Ceramic Headlight Restoration Kit. Step-by-step DIY guide with long-lasting ceramic protection and improved visibility.
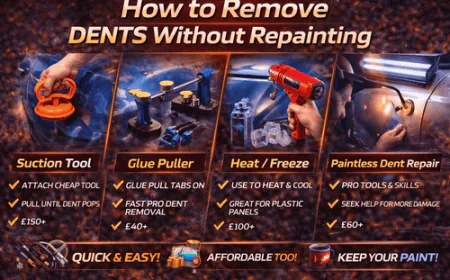
Why Headlight Restoration Matters
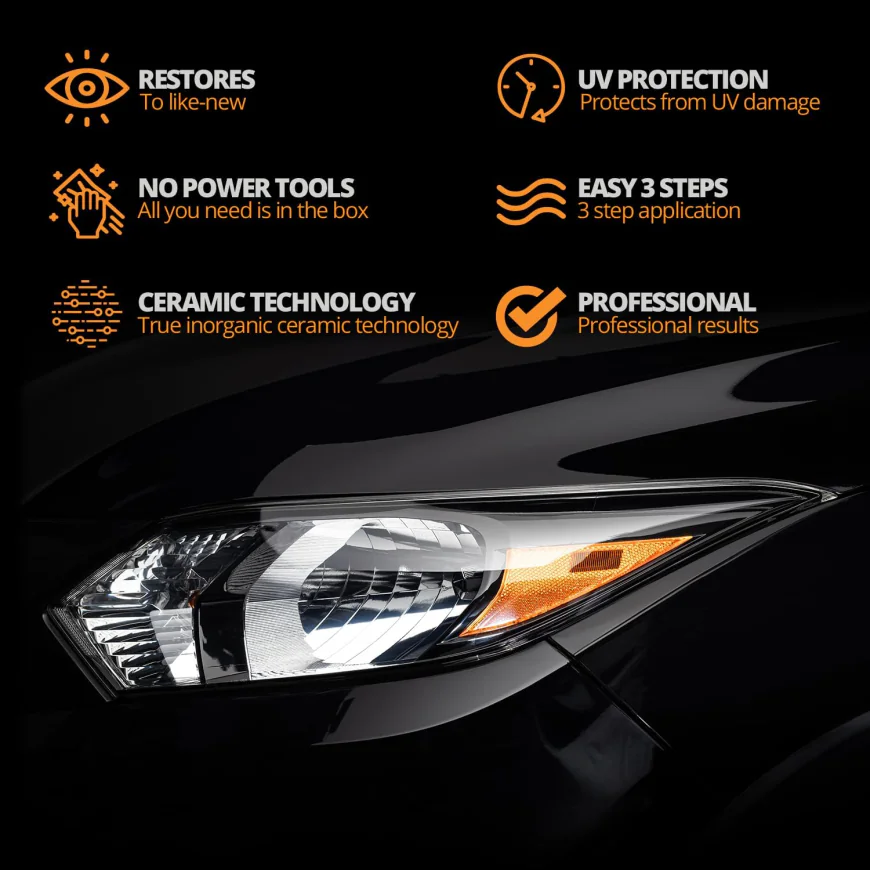
Foggy, yellow, or hazy headlights are more than a cosmetic issue — they’re a road safety hazard. According to the RAC, plastic headlight lenses degrade over time due to UV exposure, road debris, dirt, and weathering, reducing night-time visibility by up to 80%.
Beyond visibility concerns, clouded headlights can also lead to MOT failures in the UK. Many drivers don’t realise that having headlights below a certain brightness or clarity standard is an automatic failure point. Replacing headlights at a garage can cost £250–£800 per side, while professional restoration services run £50–£100 per headlight.
DIY solutions like the CERAKOTE Headlight Restoration Kit on Amazon lets you restore clarity at a fraction of the cost while protecting your lenses from future damage.
What’s Included in the CERAKOTE Kit
The CERAKOTE kit is an all-in-one system with everything needed to restore your headlights:
-
Surface Prep Spray for cleaning and degreasing
-
Sanding Block + Discs (P500, P800, P3000)
-
2-Step Ceramic Coating pads
-
Applicator Sponge
-
Microfiber Cloth
-
Step-by-step instructions
No additional tools are necessary beyond a spray bottle of water for sanding and a clean workspace.
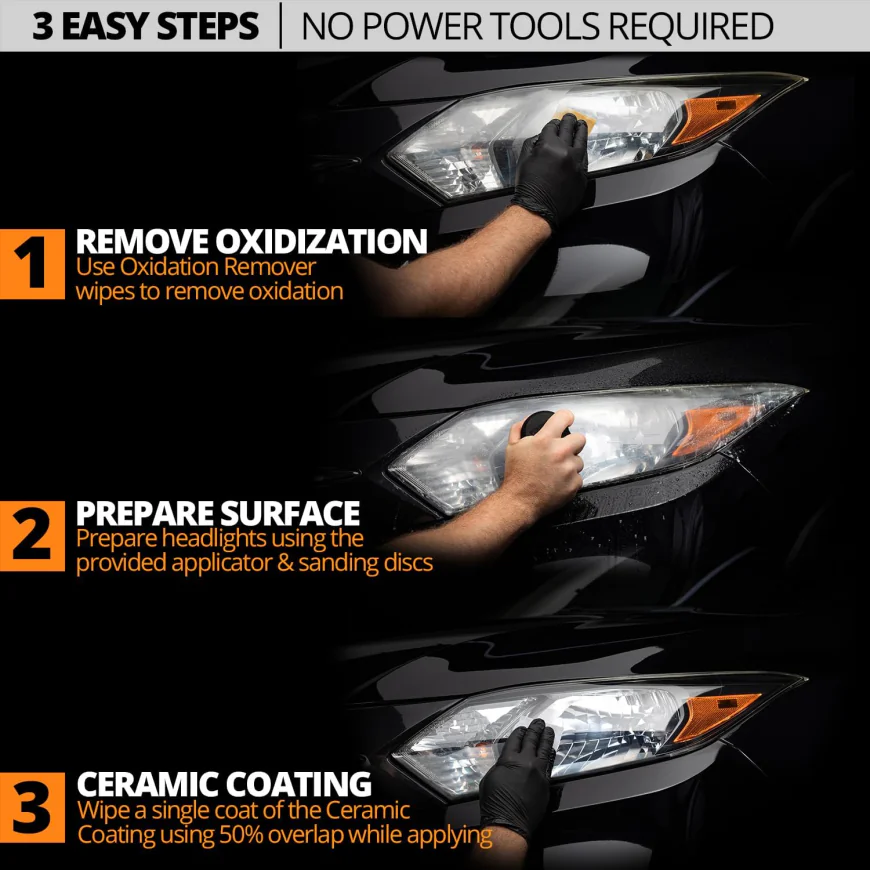
Step-by-Step: How to Restore Your Headlights
1. Clean & Prep
Spray the Surface Prep on your headlight lens and wipe thoroughly. Removing grime, grease, and oils ensures that the coating bonds correctly. Any leftover dirt will cause uneven results.
2. Sand Away Oxidation
Start with the coarse P500 disc to remove heavy oxidation and surface scratches. Progress to P800 and finally P3000 to smooth the lens. Keep the surface wet during sanding to prevent micro-scratches.
Pro Tip: Work in the shade or inside a garage to prevent premature drying of sanding areas.
3. Apply the Ceramic Coating
Using the pre-soaked applicator pad, evenly wipe the ceramic coating across the entire headlight lens. This layer forms a durable barrier that protects against UV rays, oxidation, and yellowing.
4. Buff & Finish
After applying the coating, use the microfiber cloth to buff the lens to a glossy, factory-new finish. Multiple thin coats of ceramic can increase protection and longevity.
5. Cure & Protect
Let the coating cure as per the instructions. Avoid washing the headlights for 24 hours. Regularly wipe off dirt and grime to prolong clarity.
Comparison: CERAKOTE vs Other Restoration Options
| Option | Cost | Lifespan | Effort | Verdict |
|---|---|---|---|---|
| CERAKOTE Kit | £20–£25 | 18–24 months | 1–2 hours DIY | Best value, long-lasting results |
| Cheap DIY kits | £10–£15 | 3–6 months | 1 hour | Temporary results, no protective layer |
| Professional restoration | £50–£100/headlight | 12–18 months | None | Good results but expensive |
| Full replacement | £250–£800 per lens | Permanent | Garage fitting | Only for cracked/damaged lenses |
Maintenance & Safety Tips
-
Avoid washing headlights for 24 hours after application.
-
Check headlights periodically for new scratches or oxidation.
-
For stubborn haze, repeat sanding with fine grit and reapply coating.
-
Use in well-ventilated areas to prevent inhaling dust from sanding.
-
Ensure headlights are cool before starting; heat can affect coating adhesion.
FAQs
Q: How long does the CERAKOTE coating last?
A: Up to 24 months depending on environmental exposure.
Q: Will it repair cracked headlights?
A: No, it only restores clarity and removes oxidation.
Q: Can it be applied to taillights or fog lights?
A: Yes, any plastic automotive lens will benefit.
Q: How often should I reapply?
A: Typically every 2 years, but check for signs of new oxidation.
Q: Is the kit beginner-friendly?
A: Yes, step-by-step instructions and all materials are included.
Q: Can I use the kit in direct sunlight?
A: Ideally no — shade or indoor spaces prevent the coating from drying too quickly.
Q: Does sanding remove lens material?
A: Minimal removal occurs, just enough to take away oxidation. Proper grit progression prevents damage.
Q: Can I use it on heavily scratched headlights?
A: Yes, but deep scratches may remain slightly visible; multiple sanding sessions can help.
Watch the Process
Visual learners can follow along with this step-by-step YouTube guide demonstrating proper sanding, coating, and buffing techniques.
Conclusion
Restoring your headlights doesn’t need to be expensive or complicated. By following this guide, the CERAKOTE Ceramic Headlight Restoration Kit allows drivers to:
-
Improve night-time visibility
-
Avoid costly replacement parts
-
Achieve long-lasting clarity with DIY effort
Whether you’re a weekend car enthusiast or a safety-conscious commuter, this kit is a reliable, affordable solution.
Grab the CERAKOTE Headlight Restoration Kit on Amazon today and bring your headlights back to life.
Call to Action
Do you have a build story like this one? Got a build on a budget? We want to see it. Submit your story to Stance Auto Magazine, and you could be the next featured owner showing the world how to do it right—without breaking the bank.
 Like
0
Like
0
 Dislike
0
Dislike
0
 Love
0
Love
0
 Funny
0
Funny
0
 Angry
0
Angry
0
 Sad
0
Sad
0
 Wow
0
Wow
0