


.png)


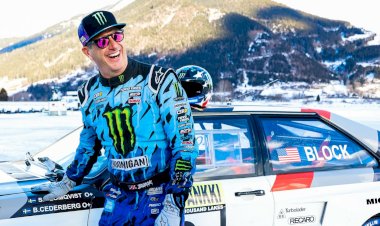
![[HOONIGAN] Ken Block's GYMKHANA NINE](https://img.youtube.com/vi/_bkX5VkZg8U/maxresdefault.jpg)


![[HOONIGAN] KEN BLOCK'S GYMKHANA SEVEN: WILD IN THE STREETS OF LOS ANGELES](https://cdn.motor1.com/images/mgl/2KlO4/s1/ken-block-london-tour-directors-cut.jpg)


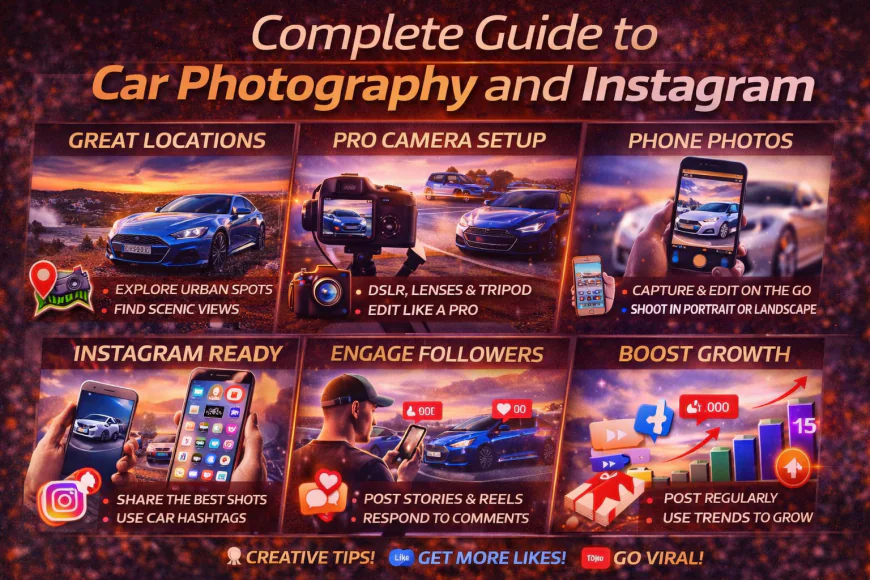
How to Take Better Car Photos for Instagram: The Ultimate Guide
Master car photography for Instagram. Camera settings, composition, locations, editing, and building followers for automotive photography in 2026.
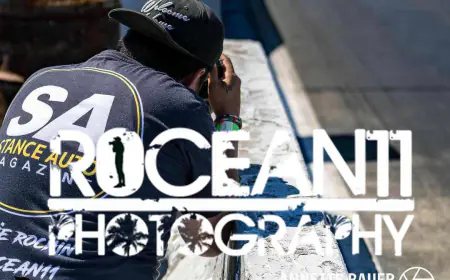
Capturing Your Build's Story
Car photography has evolved from simple snapshots to a genuine art form, and Instagram has become the primary gallery where enthusiasts showcase their builds. A well-photographed car tells a story—about the countless hours of modification work, the attention to detail, the personality of the build. But between smartphone cameras capable of stunning results and professional DSLRs offering ultimate control, knowing how to consistently capture your car at its best requires understanding fundamentals that go beyond just pointing and shooting.
The difference between a photo that gets twenty likes and one that earns two thousand isn't just the car—it's composition, lighting, editing, and understanding what makes car photography work on Instagram's specific platform. Whether you're shooting with an iPhone 15 or a Canon R5, the principles remain the same. This guide covers everything from camera settings and composition to finding locations, editing workflow, and growing an automotive photography following on Instagram.
For show car presentation and preparation, see our show car prep guide. For photography inspiration from stunning builds, explore our magazines on Amazon.
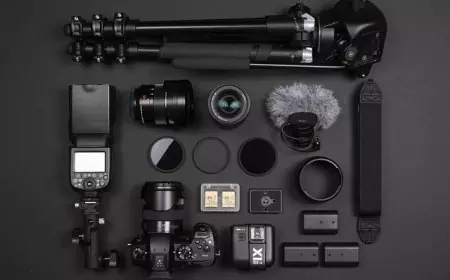
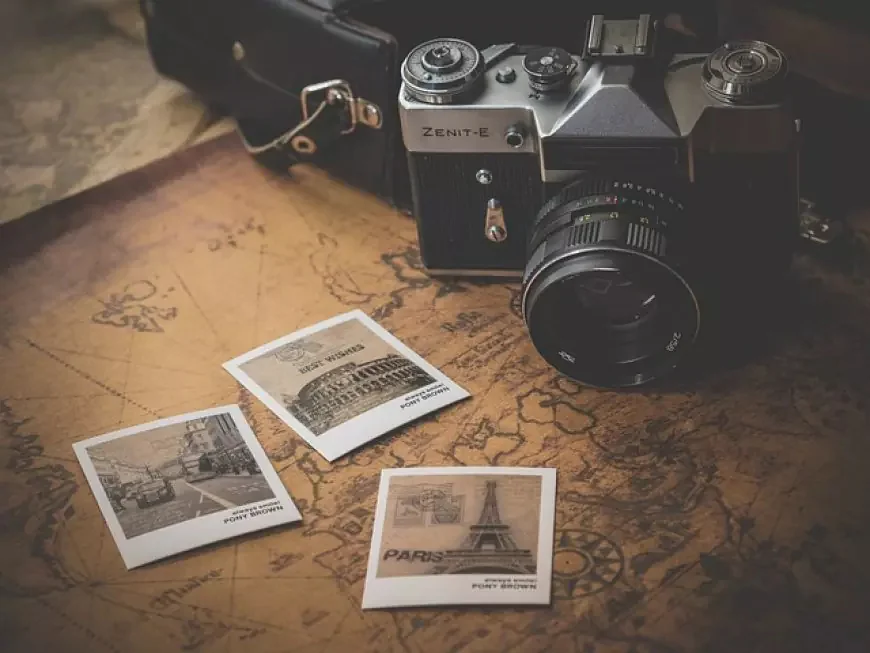
Camera Choice: Phone vs DSLR vs Mirrorless
The eternal debate starts here, and the honest answer might surprise you: your phone is probably good enough, especially if you're shooting for Instagram. Modern smartphones like the iPhone 15 Pro, Samsung S24 Ultra, or Google Pixel 8 Pro capture images with dynamic range and detail that would have required £3,000 of camera equipment just five years ago. Instagram compresses everything anyway, reducing images to resolutions where the difference between phone and professional camera becomes minimal. That said, dedicated cameras offer advantages that matter for serious automotive photography.
A proper camera—whether DSLR or mirrorless—gives you complete manual control over every aspect of exposure. You can shoot in RAW format which preserves far more data for editing, allowing you to recover blown highlights or lift shadows that would be permanently lost in smartphone JPEGs. Low light performance remains superior, important for those golden hour shots where lighting can be tricky. Lenses matter too—a proper wide-angle lens at 16-24mm creates drama and emphasizes stance in ways smartphone lenses can't quite match, while a 50mm or 85mm lens gives you gorgeous background separation for detail shots.
For Instagram specifically, a good smartphone with understanding of composition will outperform a beginner with an expensive camera. If you're just starting out, use what you have and learn the fundamentals. Once you're consistently creating images you're proud of and pushing the limits of your phone's capabilities, then consider investing £600-1,500 in a camera body and lens combination like a Sony A6400 or Canon EOS RP with a 24-70mm lens.
Mastering Photography: A Comprehensive Guide for Beginners
Fundamental Camera Settings
Understanding exposure triangle—aperture, shutter speed, and ISO—transforms your photography from random snapshots to deliberate images. These three settings work together to control how much light hits your sensor, but each affects the final image differently beyond just brightness. Getting them right means understanding what each one does and how they interact.
Aperture controls depth of field, which determines how much of your image is in sharp focus versus blurred background. For full car shots where you want the entire vehicle sharp, shoot at f/8 to f/11. This smaller aperture (higher number) keeps everything in focus from front bumper to rear, ensuring your carefully fitted wheels and aggressive fitment are all pin-sharp. For detail shots where you want to isolate a specific element—maybe just the wheel and tyre combo or the engine bay—open up to f/2.8 to f/4. This creates that creamy background blur (bokeh) that makes the subject pop.
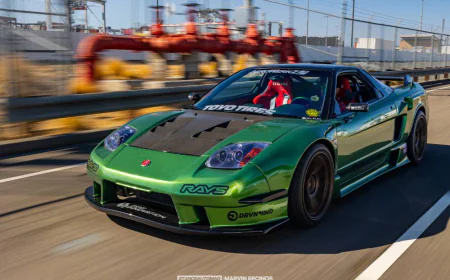
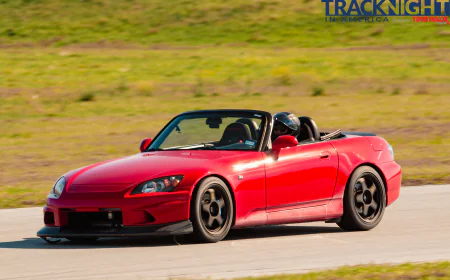
Shutter speed needs to be fast enough to avoid motion blur from camera shake, following the general rule of at least 1/125s when handholding. For static car shots, 1/250s gives you safety margin. If you're shooting rolling shots or panning shots where you follow the car while it moves, you'll drop to 1/60s or even 1/30s deliberately to blur the background while keeping the car relatively sharp—an advanced technique that creates motion and drama.
ISO should be as low as possible to minimize noise and grain. Start at ISO 100 or 200 in good light. As light drops during golden hour or you need faster shutter speeds, you'll need to increase ISO, but modern cameras handle ISO 800-1600 with acceptable noise levels. Anything beyond ISO 3200 starts degrading image quality noticeably. This is where better cameras shine—their sensors handle high ISO far better than smartphones.
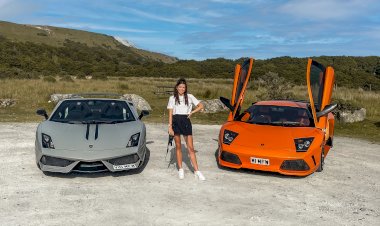
Composition: Making Your Car Look Its Best
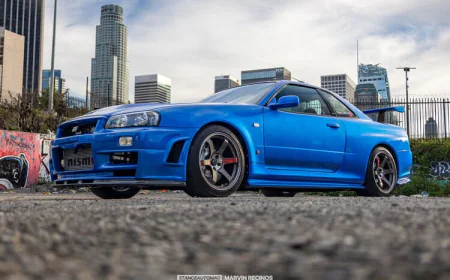
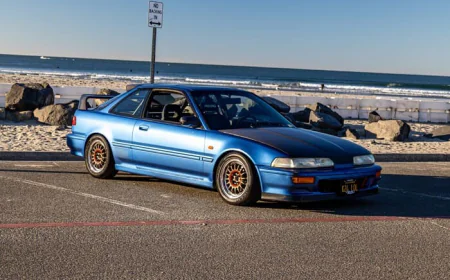
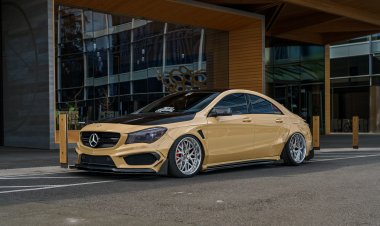
The rule of thirds is photography's most fundamental compositional tool, and it works brilliantly for automotive photography. Imagine your frame divided into nine equal sections by two horizontal and two vertical lines—your subject should sit along these lines or at their intersections rather than dead center. For a three-quarter front shot of your car, position it so the front corner sits at the lower-left or lower-right intersection point. This creates natural tension and interest that a centered composition lacks.
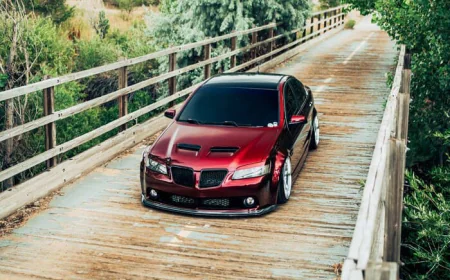
Leading lines draw the viewer's eye through the image toward your car. This could be road markings, barriers, architecture, or natural elements like treelines. Position your car at the end of these lines so the viewer's eye travels through the frame and lands on your build. An empty road stretching toward your car creates depth and drama, making the car feel like it's in its natural environment rather than just parked somewhere random.
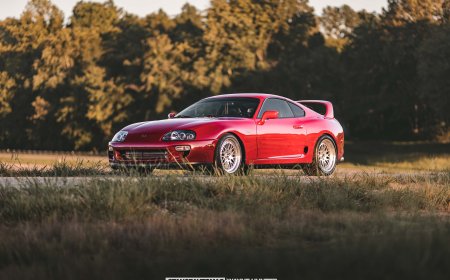
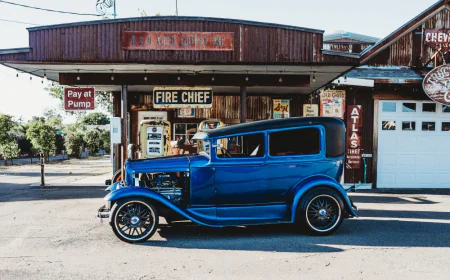
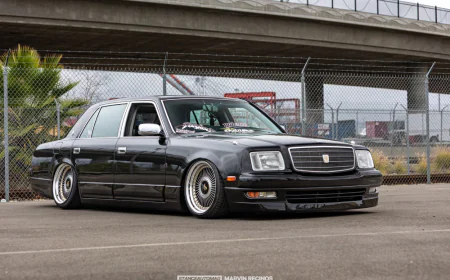
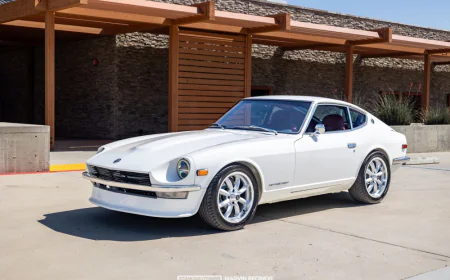
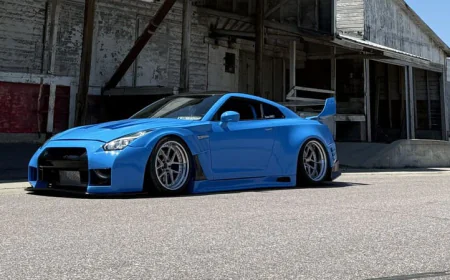
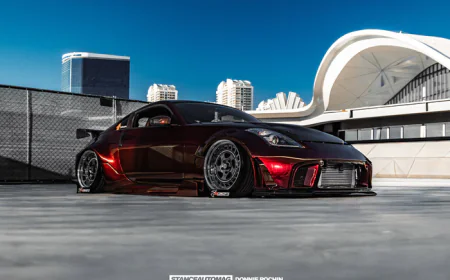
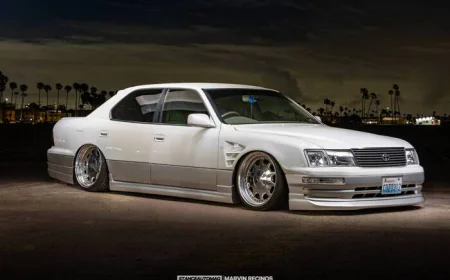
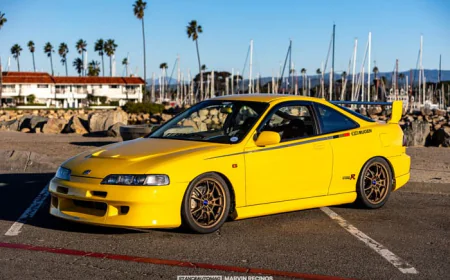
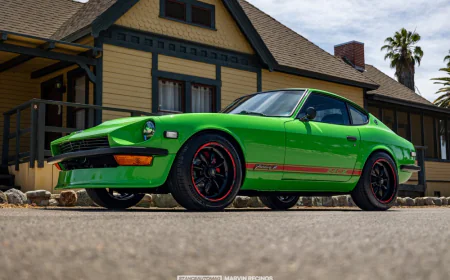
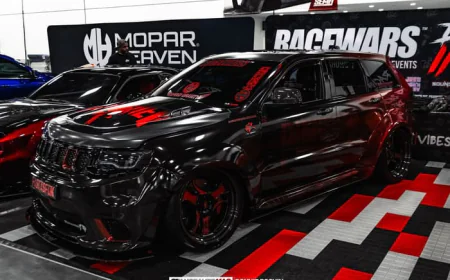
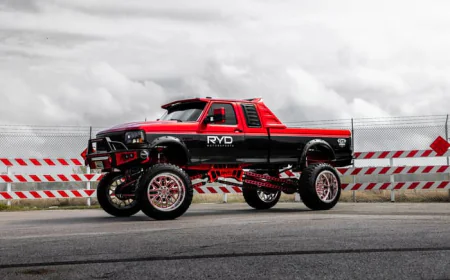
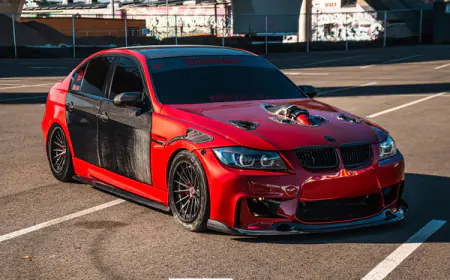
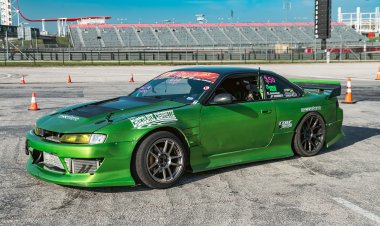
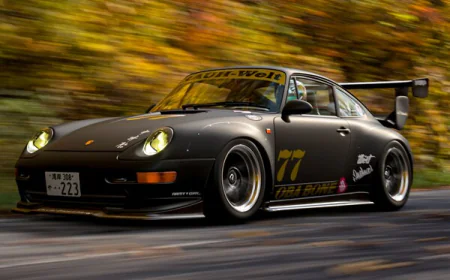
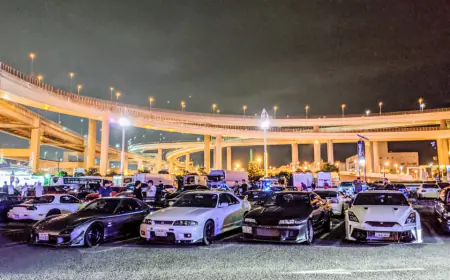
Shooting low—and I mean genuinely low, often lying on the ground—changes everything. Car photography from standing height looks boring because that's how we see cars every day. Get down to bumper level or lower, and suddenly the car looks aggressive, purposeful, planted. This angle emphasizes stance and fitment, making even moderately lowered cars look properly aggressive. It also uses the ground as a natural leading line and minimizes distracting background elements.
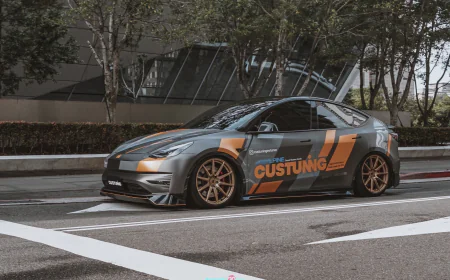
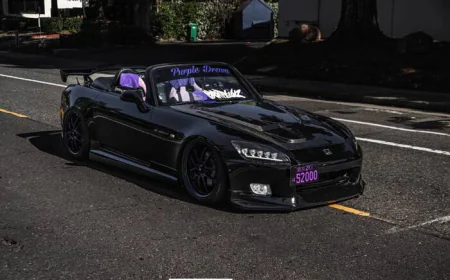
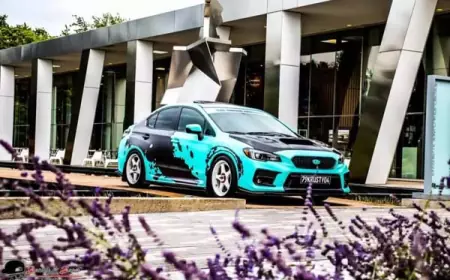
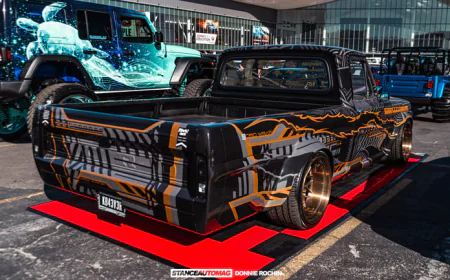
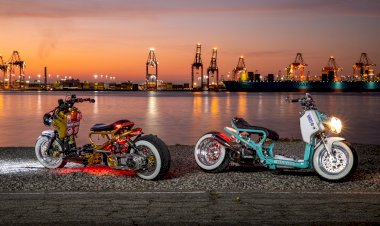
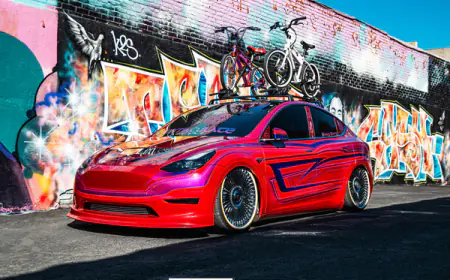
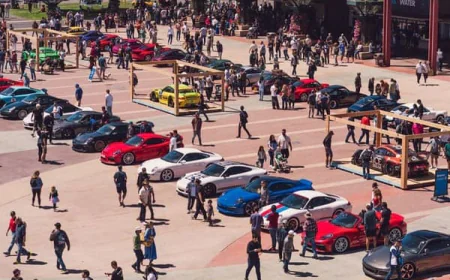
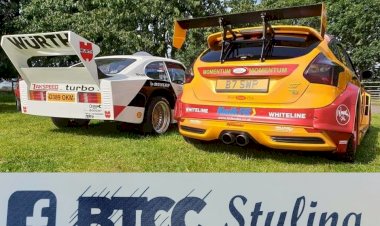
Background matters enormously and makes or breaks car photography. The cleanest execution, wildest fitment, and most expensive modifications all get lost if your car is photographed against a cluttered background of wheelie bins, telegraph poles, and random pedestrians. Seek clean backgrounds—blank walls, open sky, empty roads, industrial architecture. Urban environments work brilliantly for modified cars, offering gritty textures and leading lines, but you need to choose your angles carefully to eliminate distractions.
How to Become a Photographer: A Comprehensive Guide
Lighting: The Golden Hours and Beyond
Golden hour—the hour after sunrise and hour before sunset—isn't just photography cliché; it's genuinely transformative for automotive photography. The sun sits low on the horizon, casting warm, soft light that wraps around your car's curves, emphasizing body lines without the harsh shadows of midday sun. Colors pop but remain natural, metallics shimmer, and the whole image gains a warmth that's immediately appealing on Instagram.
Midday sun creates harsh, contrasty light with deep shadows and blown highlights that's difficult to work with. If you must shoot in midday sun, position your car so it's evenly lit—either fully in shadow or fully in sun, avoiding partial shade which creates ugly contrast. Overcast days provide naturally diffused light that's flattering but can look flat and boring without careful editing to add contrast and punch.
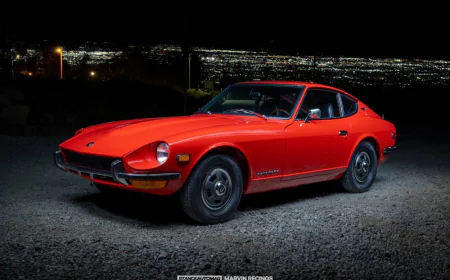
Blue hour—the period just after sunset or before sunrise when the sky turns deep blue—offers unique opportunities for modified cars with lighting mods. Your underglow, LED accents, and headlights become the light sources, creating dramatic contrast against the darkening sky. This requires longer exposures (1-4 seconds) meaning you'll need a tripod, but the results are stunning for show cars with extensive lighting work.
Artificial lighting from streetlights, building lights, or even strategically placed LED panels lets you shoot at night, creating moody images with strong light and shadow contrast. Position your car under a streetlight for a pool of light on the car against dark surroundings, or use a car park's artificial lighting for even illumination. Flash photography is possible but requires skill—bouncing flash off walls or using it as fill light rather than direct on-camera flash that kills atmosphere.
Finding Locations
The location makes the shot as much as the car itself. Industrial areas offer gritty backdrops of brick walls, metal shutters, and concrete that complement modified cars perfectly. Look for clean walls without graffiti or damage, interesting textures, and good lighting at your preferred shooting time. Empty warehouses, factory walls, and urban infrastructure provide endless backdrops that make cars look aggressive and purposeful.
Car parks work surprisingly well if you choose correctly. Multi-story car parks offer clean concrete, interesting angles, and protection from weather. Early Sunday mornings they're typically empty, giving you freedom to position your car for best composition. The repeating pattern of parking spaces creates leading lines, and the brutalist architecture suits modified cars.
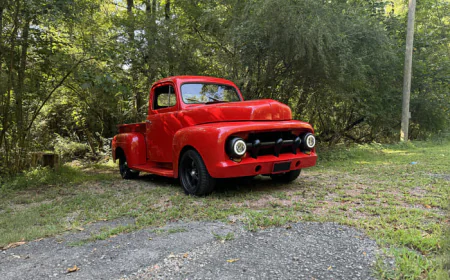
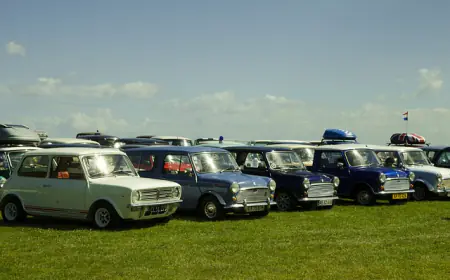
Natural locations shouldn't be ignored despite modified cars looking most at home in urban environments. Moorland roads, forests, and coastal areas provide stunning backdrops that create contrast with the industrial aesthetic of most builds. A slammed car on air suspension posed on an empty mountain road creates striking juxtaposition.
Private venues and industrial estates often offer the best backdrops but require permission. Be respectful, ask business owners or security if you can shoot quickly during quiet hours, and many will agree. Having insurance and explaining you're just photographing your own car helps. Never trespass or ignore "no photography" signs—it ruins access for everyone.
Editing Workflow
Editing separates good photos from great ones, but over-editing kills images faster than anything else. The goal is enhancing what you captured, not creating something unrealistic. Start by shooting in RAW if your camera supports it—this preserves maximum data for editing flexibility. If shooting on smartphone, consider apps like Lightroom Mobile which can capture in RAW equivalent formats.
Basic edits start with exposure correction, bringing the overall brightness to where it should be. Then adjust contrast to add punch without crushing shadows or blowing highlights. Highlights slider controls the brightest parts—usually the sky—pulling them down if they're too bright. Shadows slider lifts darker areas without creating noise. Whites and blacks fine-tune the extremes of the tonal range, but subtle adjustments work better than extreme moves.
Saturation and vibrance are where most people go wrong. Saturation affects all colors equally and quickly makes images look fake and oversaturated. Vibrance targets muted colors while protecting already-saturated ones, giving you a more natural boost. Increase vibrance by 10-20 points maximum. If colors still feel flat, use HSL sliders to target specific colors—boost the orange and yellow channels for golden hour warmth, or increase blue saturation for sky impact.
Clarity and sharpness need restraint. Clarity adds midtone contrast which can make cars pop, but too much creates ugly halos around edges and makes images look over-processed. Use 10-20 points maximum. Sharpness should be subtle—around 40-60 in Lightroom—with reduced radius to avoid artifacts. Always zoom to 100% to check for over-sharpening.

How to Start a Photography Business - A Comprehensive Guide
Instagram Strategy for Automotive Content
Instagram's algorithm favors consistent posting, genuine engagement, and content that keeps people on the platform. Posting 3-5 times per week gives you consistency without overwhelming followers. Stories bridge the gaps between main feed posts, keeping you visible daily. Reels dramatically outperform static images for reach, so consider creating short video content showing your car from different angles or capturing rolling shots.
Hashtags matter but less than they used to. Use 15-20 relevant hashtags mixing broad terms like #modified with specific ones like #civictyper and #stancenation. Create a saved hashtag set in your notes app to paste consistently. Avoid banned hashtags which tank your reach—check regularly as Instagram's list changes.
Engagement is everything. Respond to every comment in the first hour after posting—this tells Instagram your content generates conversation. Comment meaningfully on similar accounts' posts before and after posting your own. Find and participate in communities, engage genuinely, and you'll build followers who actually care about your content rather than follow-for-follow bots.
Timing impacts reach—post when your followers are active, typically 7-9am or 6-9pm UK time. Instagram Insights shows when your specific audience is online. Weekdays generally outperform weekends as people browse during commutes and lunch breaks.
Frequently Asked Questions
Do I need an expensive camera?
Not for Instagram. Modern phones produce excellent results. Upgrade to a dedicated camera once you've mastered fundamentals and consistently create strong compositions.
What's the best time to shoot cars?
Golden hour—the hour after sunrise or before sunset. Warm, soft light that makes everything look better. Avoid harsh midday sun.
How do I get more followers?
Consistent quality content, genuine engagement with similar accounts, relevant hashtags, and posting 3-5 times weekly. No shortcuts work long-term.
Should I edit my photos?
Yes, but subtly. Enhance what you captured rather than creating something unrealistic. Boost contrast, lift shadows, add subtle saturation.
What camera settings for car photography?
Aperture f/8-f/11 for full car shots, f/2.8-f/4 for details. Shutter speed 1/250s minimum. ISO as low as possible, typically 100-400 in good light.
How do I find good locations?
Industrial areas, clean walls, multi-story car parks, empty roads. Early mornings offer best lighting and fewest people.
Related Articles
- How to Prep Your Car for Shows
- Building a Show Car Budget
- Best Wrap Colors
- Underglow and LED Lighting
 Like
0
Like
0
 Dislike
0
Dislike
0
 Love
0
Love
0
 Funny
0
Funny
0
 Angry
0
Angry
0
 Sad
0
Sad
0
 Wow
0
Wow
0