


.png)


![[HOONIGAN] Ken Block's GYMKHANA NINE](https://img.youtube.com/vi/_bkX5VkZg8U/maxresdefault.jpg)


![[HOONIGAN] KEN BLOCK'S GYMKHANA SEVEN: WILD IN THE STREETS OF LOS ANGELES](https://cdn.motor1.com/images/mgl/2KlO4/s1/ken-block-london-tour-directors-cut.jpg)


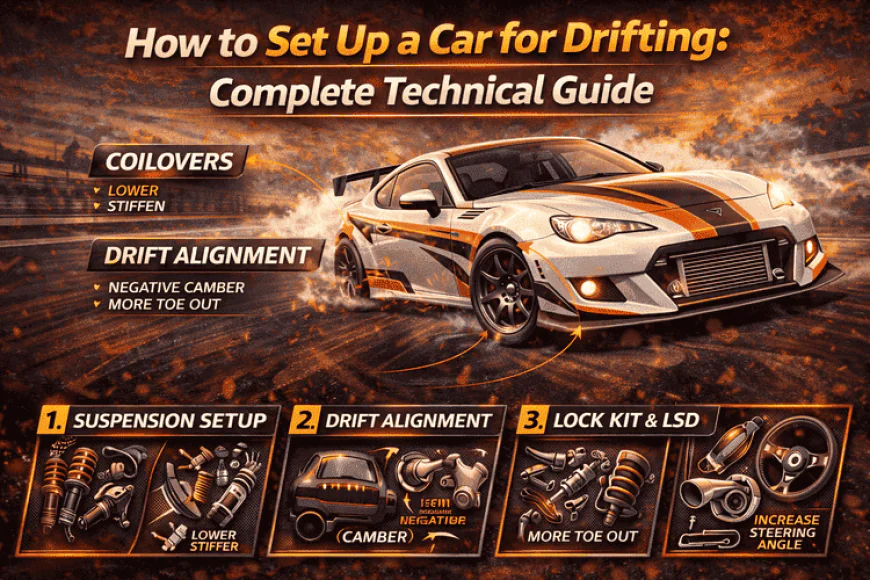
How to Set Up a Car for Drifting: Complete Technical Guide
Complete drift car setup guide. Suspension, alignment, differential, angle, power requirements, and chassis setup.
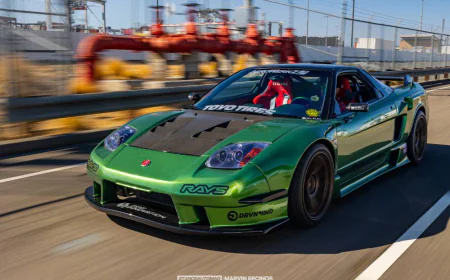
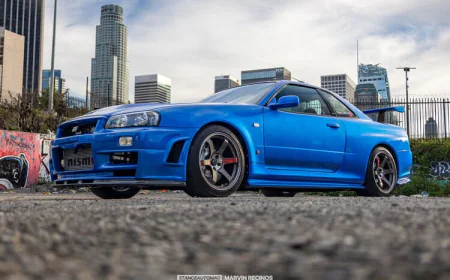
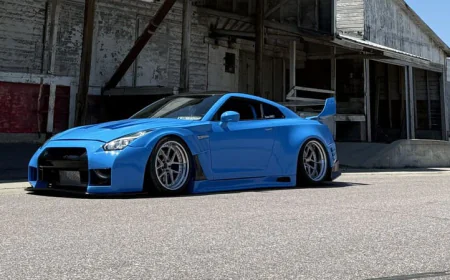
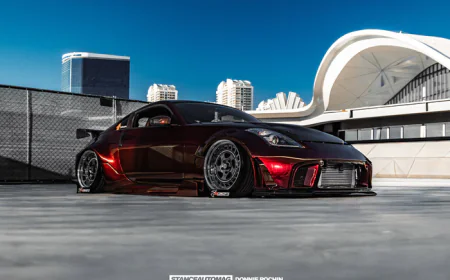
Building the Perfect Drift Setup
Setting up a car for drifting is completely different from setting up for grip driving, drag racing, or daily use. Every adjustment — suspension geometry, differential, power delivery, steering angle, weight distribution — is optimised for one goal: maintaining controlled oversteer through corners while retaining enough grip and stability to link transitions smoothly.
A properly set-up drift car feels planted yet loose, responsive yet stable, aggressive yet controllable. An improperly set up drift car either refuses to break traction, spins uncontrollably, or exhibits inconsistent behaviour that makes progression impossible. The difference between a car that teaches you to drift and one that fights you at every corner is the setup.
This complete technical guide breaks down every aspect of drift car setup: suspension geometry and spring rates, alignment specifications, differential options, steering angle modifications, power and torque requirements, weight distribution, and chassis reinforcement. Whether you're building your first drift car or refining an existing setup, this is the comprehensive resource you need.
As covered in our complete drifting guide, car choice matters — but setup matters more.
What You'll Learn:
- Suspension setup for drifting
- Alignment specifications
- Differential selection and setup
- Steering angle requirements
- Power and torque considerations
- Weight distribution optimization
- Chassis reinforcement
- Safety equipment requirements
Suspension Setup
Spring Rates
Front springs: 6-8 kg/mm (335-450 lb/in) Rear springs: 5-7 kg/mm (280-390 lb/in)
Philosophy: Stiffer front than rear encourages oversteer. Rear needs compliance for traction.
Wrong approach: Ultra-stiff everywhere (car skates, no grip) Right approach: Firm front, moderate rear, balanced
Damping
Compression damping:
- Front: 65-75% of maximum
- Rear: 50-65% of maximum
Rebound damping:
- Front: 70-80% of maximum
- Rear: 60-70% of maximum
Goal: Front resists dive, rear follows contours
Adjustment process:
- Start middle settings
- Test drift characteristics
- If front grips too much: soften front compression
- If rear too loose: increase rear compression
- If transitions jerky: soften rebound
- Iterate in small increments
Ride Height
Front: 100-120mm (ground to lowest point) Rear: 110-130mm
Philosophy: Slightly higher rear helps weight transfer, lower front aids turn-in
Too low: Binding suspension, inconsistent grip Too high: Excessive body roll, vague response
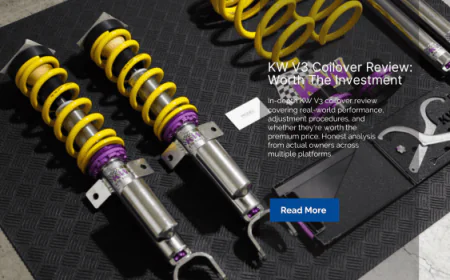
For detailed coilover selection, see our MX-5 coilovers guide — principles apply universally.
Alignment Specifications
Front Alignment
Camber: -2.5° to -4.0°
- More negative = more front grip
- Beginners: -2.5° to -3.0°
- Advanced: -3.5° to -4.0°
Caster: +6.0° to +8.0°
- More caster = more self-centering, better feel
- Maximum your chassis allows
Toe: 0° to +1mm total (slight toe-in)
- Zero toe: Most responsive
- Slight toe-in: More stable at speed
Rear Alignment
Camber: -1.5° to -3.0°
- Less than front (encourages oversteer)
- Beginners: -1.5° to -2.0°
- Advanced: -2.5° to -3.0°
Toe: 0° to +2mm total (toe-in preferred)
- Toe-in: Stable, predictable
- Toe-out: Twitchy, difficult (avoid)
Rear toe-in is critical for drifting. Toe-out makes car unstable and snap-prone.
Why This Works
More front camber than rear: Front grips better for turn-in, rear breaks loose easier
Positive caster: Self-centering for smoother transitions
Rear toe-in: Stability during slides, prevents snap oversteer

Differential Setup
Option 1: Welded Differential
What it is: Differential gears welded solid, both wheels always spin together
Cost: £50-150 (DIY welding + supplies)
Pros:
- Cheapest option
- Simple, reliable
- Perfect lock (100%)
- Great for learning
Cons:
- Terrible on street (tight turns jerky)
- Increased tire wear
- Drivetrain stress
Best for: Dedicated drift cars, beginners learning on track only
How to weld diff:
- Remove differential
- Clean spider gears thoroughly
- Weld spider gears together (multiple passes)
- Grind smooth
- Reassemble
- Fill with gear oil
Option 2: 1-Way LSD
What it is: Locks on acceleration only, open on deceleration
Cost: £400-800
Pros:
- Good for drifting
- Streetable
- Adjustable preload
Cons:
- More expensive than welded
- Requires maintenance
- Can be aggressive
Best for: Street/drift cars, intermediate drivers
Option 3: 1.5-Way LSD
What it is: Locks fully on acceleration, partially on deceleration
Cost: £600-1,000
Pros:
- Excellent for drifting
- More control than 1-way
- Streetable
- Best all-around
Cons:
- Most expensive
- Requires setup/maintenance
Best for: Serious drift cars, competition
Option 4: 2-Way LSD
What it is: Locks equally on acceleration and deceleration
Cost: £600-1,200
Pros:
- Maximum control
- Competition-grade
- Very predictable
Cons:
- Aggressive (jerky on street)
- Expensive
- Requires skill to use
Best for: Competition drift, experienced drivers
Recommendation for beginners: Welded diff or 1.5-way LSD
Steering Angle Modifications
Why More Angle?
Stock steering: 30-35° lock Drift requirement: 45-55° lock
More angle allows:
- Tighter entries
- More aggressive transitions
- Closer proximity tandems
- Recovery from mistakes
Angle Modification Methods
Level 1: Extended Tie Rods (£150-300)
- Adds 5-10° angle
- Simple bolt-on
- Good for beginners
Level 2: Angle Spacers (£100-250)
- Repositions steering knuckle
- Adds 8-12° angle
- Some bump steer introduced
Level 3: Angle Kit (£300-800)
- Complete front geometry redesign
- Adds 15-25° angle
- Minimizes bump steer
- Best solution
Level 4: Custom Knuckles (£600-1,500)
- Maximum angle (25-35°)
- Competition-grade
- Requires expertise
Popular brands: Wisefab, SLR, Driftworks, ISIS, SPL
Start with: Extended tie rods or basic angle kit. Add more as skills improve.
For complete drift setup, see our drift car buying guide.

Power and Torque Requirements
Minimum Power by Experience
Beginners (learning basics):
- 150-200 bhp adequate
- Focus on technique, not power
- Examples: E36 318i, MX-5, Altezza
Intermediate (consistent transitions):
- 200-300 bhp ideal
- Enough for speed without overwhelming
- Examples: E36 328i, S13, 350Z
Advanced (competition):
- 300-500+ bhp
- Serious speed, tandem capability
- Examples: Built SR20, LS swaps, turbo builds
Torque Characteristics
Low-end torque preferred:
- Easier to initiate drifts
- More controllable at low speeds
- Less reliance on high RPM
Powerband:
- 3,000-7,000 RPM usable range ideal
- Avoid peaky power delivery
- Smooth, progressive torque curve
Power Delivery Tuning
Throttle response:
- Aggressive = easier initiation, harder control
- Smooth = harder initiation, easier control
- Compromise with ECU tuning
Boost control (turbo cars):
- Progressive boost ramp
- No sudden spikes
- Limit boost in lower gears if excessive wheelspin
For power building, see our SR20DET 400bhp guide and turbo conversion costs.
Weight Distribution
Target Distribution
Front/Rear:
- 50/50 ideal
- 52/48 acceptable
- 55/45 maximum (more understeer)
Left/Right:
-
Exactly 50/50 (within 1%)
Weight Reduction
Priority areas (remove):
- Rear seats: 20-30kg
- Spare tire/tools: 15-25kg
- Sound deadening: 10-20kg
- Air conditioning: 15-25kg
- Passenger seat (track only): 15-20kg
- Interior trim: 10-15kg
Total possible: 85-155kg
Don't remove:
- Driver's seat
- Steering wheel
- Dashboard (structural)
- Fuel tank
- Essential wiring
Weight Addition (Ballast)
If car too light in front: Add ballast low and forward If car too light in rear: Move battery to trunk
Goal: Optimize distribution, not just reduce weight
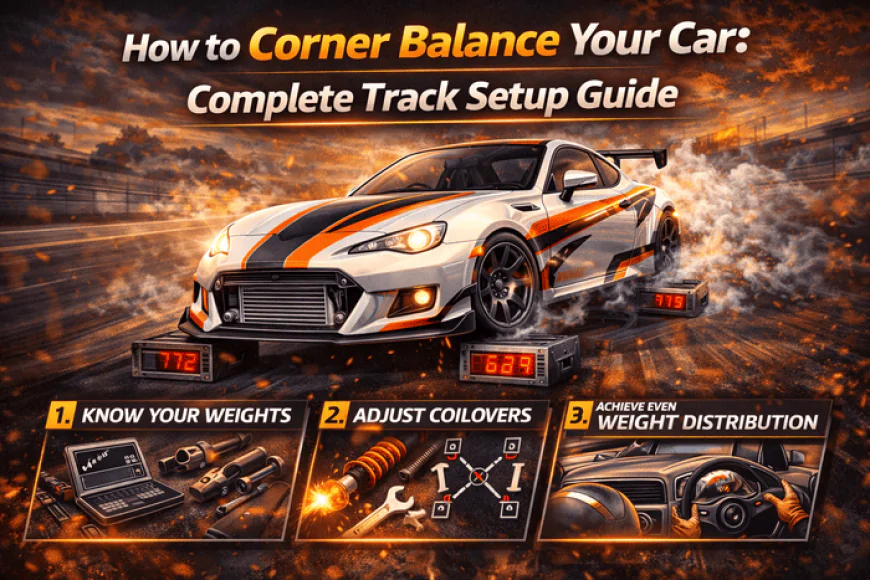
For corner balancing, see our complete setup guide.
Chassis Reinforcement
Essential Reinforcement
Roll cage:
- 6-point minimum (competition)
- 4-point adequate (practice)
- Weld-in > bolt-in
- Cost: £800-2,500
Subframe connectors:
- Reduces flex
- Improves response
- Cost: £150-400
Strut tower braces:
- Front essential
- Rear helpful
- Cost: £80-200 each
Safety Equipment
Mandatory:
- Roll cage or roll bar
- Racing seat (FIA approved)
- 4-point harness minimum (5-point or 6-point better)
- Helmet (Snell SA2015 or newer)
- Fire extinguisher (2kg minimum)
Strongly recommended:
- HANS device or similar
- Race suit (fire-resistant)
- Race boots
- Gloves
- Window net
Total safety equipment cost: £1,500-4,000
Brake Setup
Brake Bias
Stock: 70/30 front Drift setup: 60/40 to 65/35 front
Why: More rear brake helps rotation, makes handbrake more effective
Adjustment:
- Brake proportioning valve
- Or: Smaller rear calipers/different pads
Hydraulic Handbrake
Essential for drifting.
Location: Between driver's seat and center console Line routing: To rear calipers OR separate rear calipers Handle length: 400-500mm
Cost: £150-400 (basic to premium)
Popular brands: Driftworks, OBP, Wilwood
Wheel and Tire Setup
Wheel Sizing
Front: 17x8.5 to 18x9.5 Rear: 17x9 to 18x10.5
Offset:
- Aggressive fitment for angle clearance
- +15 to +35 depending on chassis
Tire Selection
Front: Good grip compound
- Michelin Pilot Sport, Bridgestone RE-71R
- 225-245 width
Rear: Budget/drift tires acceptable
- Cheaper the better (they're consumable)
- 225-255 width
- Federal 595, Nankang NS-2R, Achilles ATR Sport
Pressure:
- Front: 32-36 PSI (hot)
- Rear: 26-32 PSI (hot)
Lower rear pressure = easier to break traction
Testing and Refinement
Initial Test (Empty Track)
- Test basic handling (30-40 mph corners)
- Check transition response
- Verify angle clearance
- Test power-over initiation
Adjustment Process
If car understeers:
- Soften front compression
- Add front negative camber
- Reduce front tire pressure
- Add rear toe-in
If car oversteers too easily:
- Stiffen front compression
- Reduce front camber
- Increase front tire pressure
- Check rear toe (ensure toe-in not toe-out)
If transitions are jerky:
- Soften rebound damping
- Check differential preload
- Smooth throttle application technique
Documentation
Record everything:
- Alignment settings
- Damper settings (clicks)
- Tire pressures
- Spring rates
- Track conditions
- Driver feedback
Iterate systematically: Change one variable at a time
Common Setup Mistakes
1. Too Stiff Everywhere
Result: No mechanical grip, car skates, unpredictable
Fix: Soften rear, ensure compliance
2. Rear Toe-Out
Result: Snap oversteer, spins
Fix: Always toe-in rear, never toe-out
3. Excessive Negative Camber
Result: Reduced contact patch, poor straight-line traction
Fix: Front -2.5° to -4.0°, rear -1.5° to -3.0° maximum
4. Too Much Power Too Soon
Result: Uncontrollable, can't develop technique
Fix: Limit boost/power until skills improve
5. Inadequate Angle
Result: Can't maintain drift, doors/fenders contact
Fix: Minimum 45° lock, ideally 50°+
Budget Setup Guide
Minimum Viable Drift Car (£500-1,000)
- Welded diff: £50-100
- Hydraulic handbrake: £150-300
- Bucket seat: £150-300
- Helmet: £150-300
- Total: £500-1,000
Skip: Coilovers, angle kit, roll cage initially Use: Stock suspension, stock angle, practice
Serious Setup (£3,000-6,000)
- Coilovers: £800-1,500
- 1.5-way LSD: £600-1,000
- Angle kit: £400-800
- Roll cage: £800-1,500
- Seat + harness: £400-800
- Hydraulic handbrake: £200-400
- Alignment: £150-250
- Total: £3,350-6,250
Competition Setup (£8,000-15,000)
- Premium coilovers: £1,500-3,000
- 2-way LSD: £800-1,500
- Full angle kit: £1,000-2,000
- Weld-in cage: £1,500-3,000
- FIA seat + 6-point harness: £800-1,500
- Hydraulic handbrake: £300-600
- Power upgrades: £3,000-8,000
- Wheels/tires: £1,500-2,500
- Total: £10,400-22,100

Frequently Asked Questions
Can I drift with stock suspension?
Yes, but limited. Stock suspension isn't optimised for drifting. You'll progress faster with coilovers.
Do I need a roll cage for practice days?
Not mandatory for most beginner drift days. Essential for competition and strongly recommended for all drifting.
Welded diff or LSD for first drift car?
Welded if track-only, budget-limited. LSD if street-driving or have a budget.
How much steering angle do I actually need?
Minimum 45°. Beginners can start with 40° but will outgrow it quickly. 50°+ ideal.
Can I use my daily-driven car setup for drifting?
No. Drift setup requires compromises (comfort, tyre wear, steering lock) incompatible with daily driving.
What power is ideal for learning?
150-250 bhp. Enough to sustain slides without being overwhelming.
How often should I adjust the setup?
After every 3-4 drift days initially. Once dialled, only when changing components or tracks.
Related Articles
 Like
0
Like
0
 Dislike
0
Dislike
0
 Love
0
Love
0
 Funny
0
Funny
0
 Angry
0
Angry
0
 Sad
0
Sad
0
 Wow
0
Wow
0